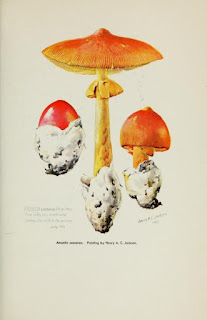
The Biodiversity Heritage Library provide free access to their recourses, including thousands of scanned copies of books which are no longer under copyright. I've collected a few of my favourite images from the site below. As always, double check the links to make sure that the images are still copyright free when you come to use them in your projects. Scroll down to see how I used one of them to mock up a simple poster design.
 |
| Click here |
 |
| Click here |
 |
| Click here |
 |
| Click here |
 |
| Click here |
Poster Tutorial
Open a new A4 document in Photoshop and paste in a copy of the fox image.
Hit M to select the Marquee tool and draw a rectangle around the brown edge. Hit delete to remove it.
Draw an ellipse around the fox and press CTRL C and CTRL V to copy paste it. Toggle the eye on the original fox layer to hide it for now.
Hit I to select the Eyedropper tool, click somewhere on the sandy part of the image to select that colour (try to pick the bit that seems to form the majority of the background colour).
Select the background layer and press Shift F5 to open the fill tool. Select foreground colour and press ok.
Create a new layer behind the fox layer and press B to select the Brush tool. Using a watercolour brush (you can download some for free here) we can start to extend the painting. Use the Eyedropper tool to select the appropriate colours.
Work your way around the edge of the fox image, adding splashes of watercolour where you feel appropriate. Experiment with the different brushes and layering the colours until you are happy with the effect.
Click on the fox image layer and select the clone stamp tool. Holding down the Alt key, click on part of the creamy background colour, next to the Fox 1/3 wording near the bottom. A bullseye will appear.
Hold down the left mouse button and drag the circle over the wording. Keep clicking and dragging until the wording has disappeared. You can find a tutorial on using the clone stamp here.
Type in the details for your poster. I used fonts AdornsS Condensed and Hummingbird.
Tada!


