I haven't been weaving very long but it's quite addictive. There are tons of good tutorials on the internet but I particularly like
Weave With Pat and
The Weaving Loom for their easy to follow guides and examples of the different techniques.
I fell in love with The Weaving Loom's stick weaving tutorial and decided to give it a go. Visit her tutorial
here for a much better example of how to do this, or read on for the half-arsed version.
You will need:
A Y shaped stick (I used some driftwood). Make sure it's strong enough to withstand some tension.
Embroidery threads, wool, roving and whatever else you feel like weaving with.
A darning needle (the blunt with a big hole kind of needle).
 |
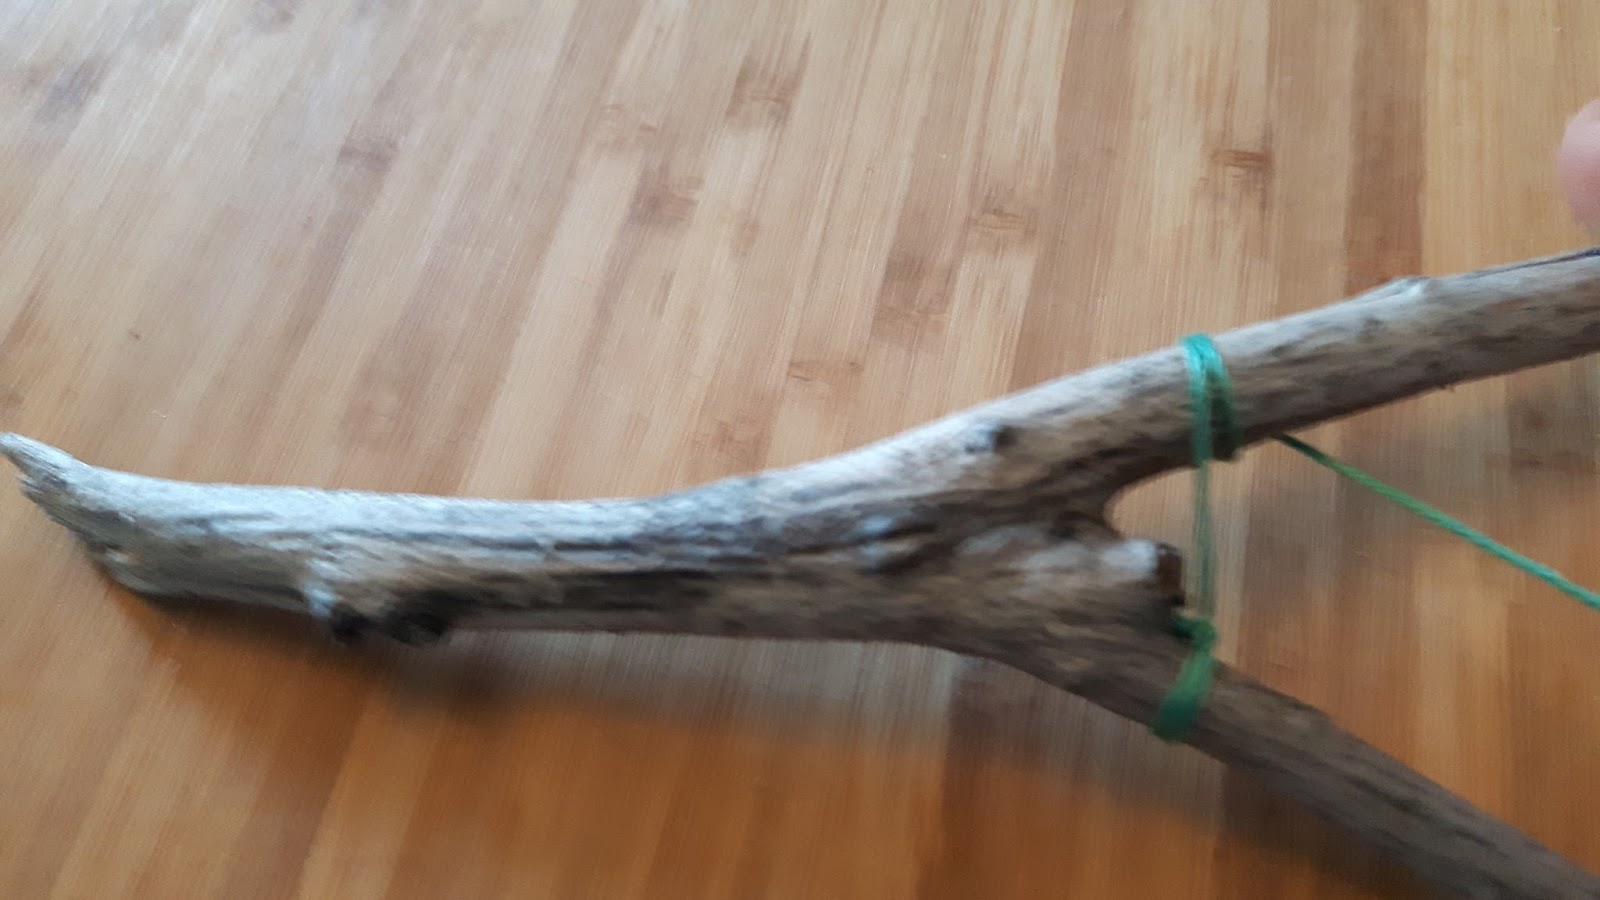
| Get yourself a good stick. This is not a good stick. It's very small and fiddly. |
 |
| Tie some thread to the stick. This will be your warp (the vertical threads) |
 |
| Wrap the thread around the upper stick (where you knotted it) and then bring it over the lower stick and wrap once. |
|
|
 |
| The thread will cross in the middle. Repeat till you run out of stick. |
 |
| Tie off the end. You want it to be tight but not super tight. Bouncy but not loose. |
 |
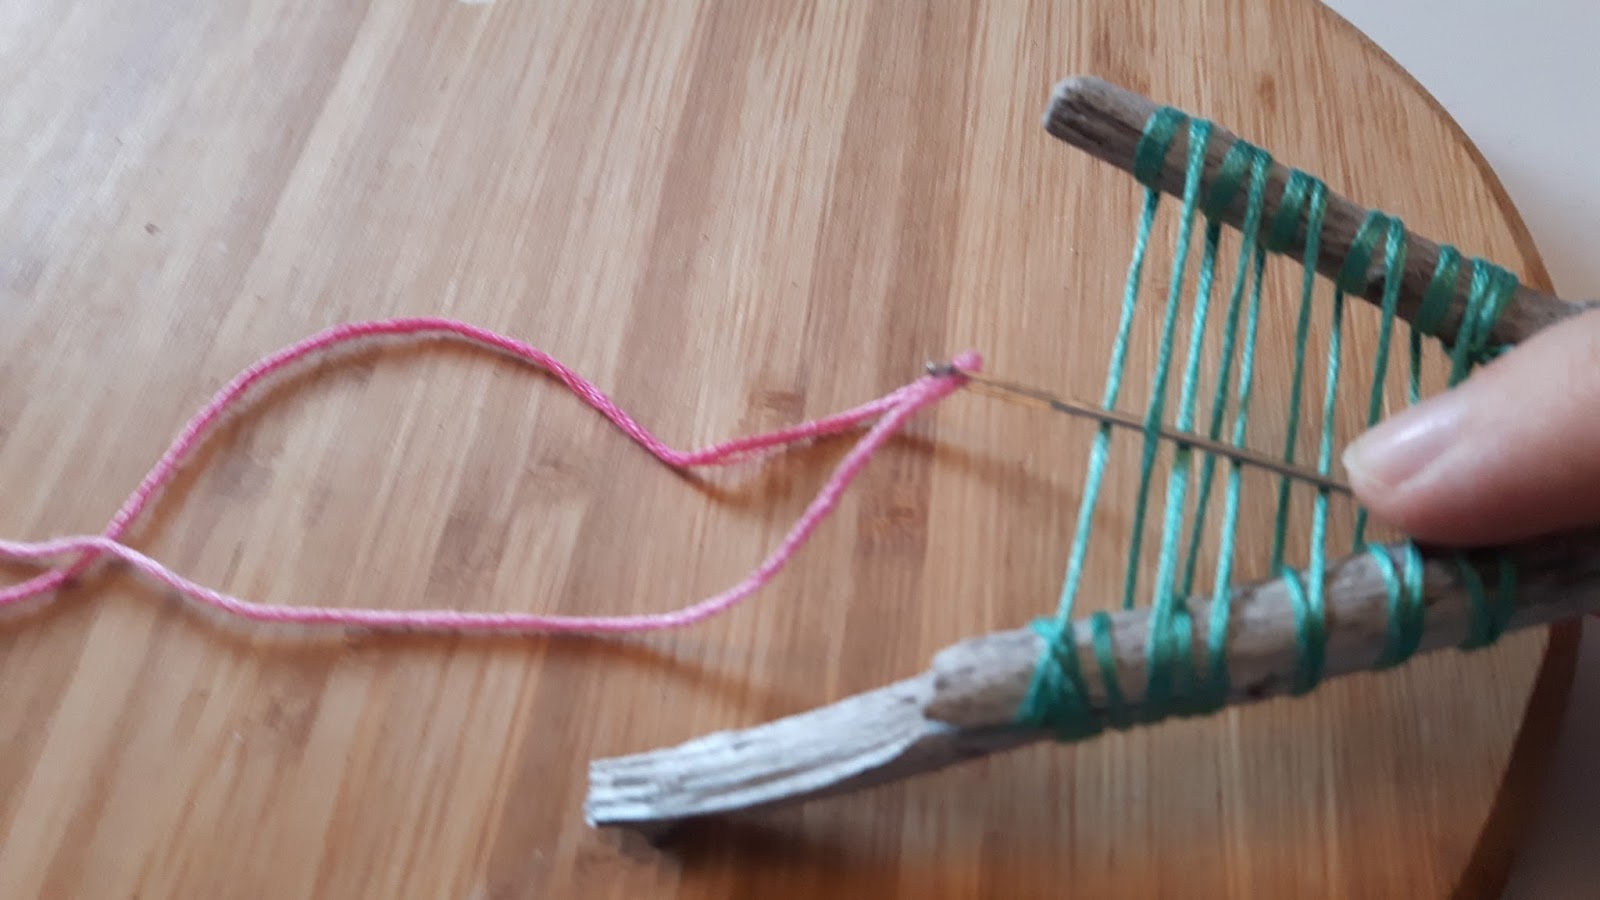
| Thread a needle with contrasting embroidery floss. This will be your weft. |
 |
| Bring the floss over the first warp and under the second. |
 |
| Repeat until you reach the end. |
 |
| Bring the thread around the last warp and repeat in the other direction. |
 |
| This line of weft should be opposite to the one above (so under then over) |
 |
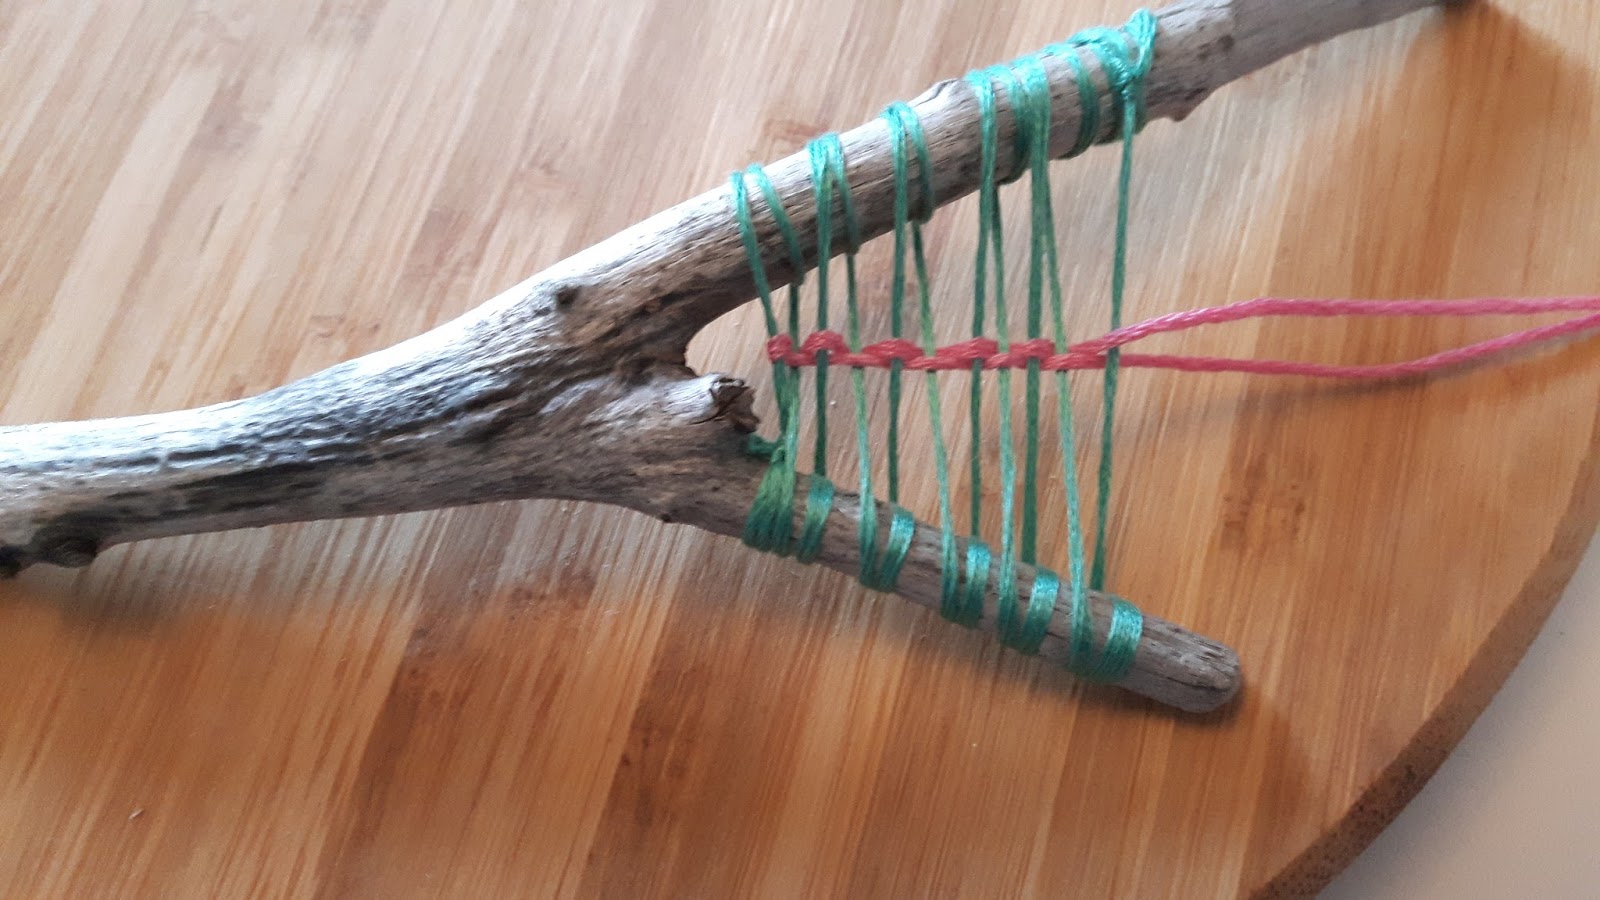
| Use the needle to push the woven threads together. Add another line or two of weft. |
 |
| Cut the thread leaving a tail a few inches long (You can weave it in later). |
 |
| The picture isn't upside down. I started weaving upside down. It happens. Add a new line of warp. See here to learn how to do this stitch (it's called Soumak) |
 |
| Push your lines of weft together and admire it at a jaunty angle. |
 |
| Repeat the Soumak steps in the opposite direction. It looks like teeny arrows. :-D |
 |
| Add some more rows of regular stitches. Like the first step. They probably have a name. |
 |
| Add some wool roving. Regret this bitterly because it's too bloody fiddly in miniature. |
 |
| Fill the rest of space with fat stitches because you've tired of the tiny weaving experiment. |
 |
| Use the needle to weave the ends in to the back of the weaving. Do a better job than this hot mess. |
Ta Da. Behold your tiny messy woven stick thing.