Showing posts with label air dry clay. Show all posts

Monday, 23 April 2018

Turn A Broken Doll Into A Classical Bust Statue


You will need:

Toy doll - I used a broken Barbie
Air Dry Clay
Decorators Caulk
Brushes
White Acrylic Paint
Rolling Pin (I use the inner tube of a roll of foil)
Hot glue or tape


Remove arms - I used some pliers

Put hair up in a bun - I also wrapped the plaits around the forehead

Secure them with some tiny elastic bands but you could use glue

Find something to use for the plinth - this used to hold a candle

I wrapped a cork in foil to fill the space at the bottom
Cut a hole in the top and stuff the doll through it

Secure with tape or hot glue

Roll out some air dry clay

Fold it over a bit to emulate pleats

Wrap it around the doll and squish until it stays in place

Wet your finger with water and smoosh any broken bits back together

I cut out a few decorative leaves from the clay

Add the decoration to front and back


Wrap the base in some clay and use a wet finger to smooth it out

Roll some clay into a sausage and wrap around the bottom

Smoosh it until it's all joined together


Cut out a piece of clay to cover the top of the plinth

Smoosh into place

Keep rubbing and smoothing until it looks better

Use a toothpick to draw lines in the plinth
Add another sausage to the top. Smoosh.


Add a little sausage to join the doll to the plinth

Smoosh

Paint the doll with caulk. Use fingers or a small brush

Use a wet brush to smooth. Wait till it drys then add another layer

And another layer

And another

Leave to dry overnight then paint with white acrylic
Admire your fancy statue!


Wednesday, 28 February 2018

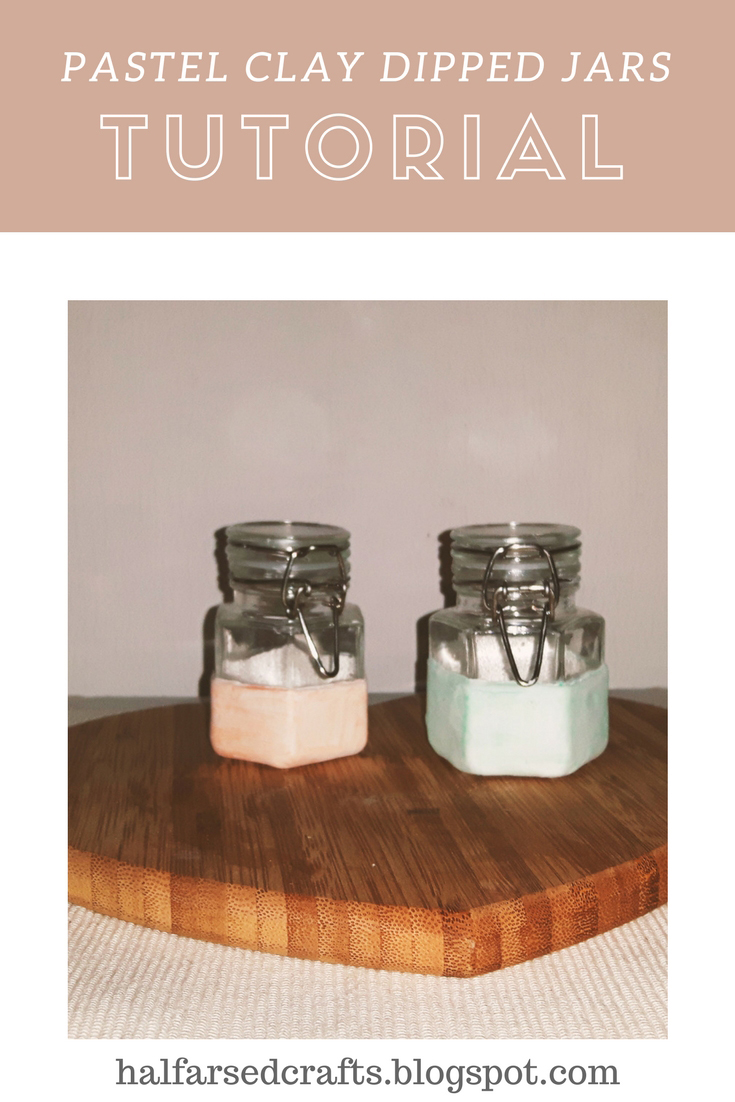
Pastel Clay Dipped Jars


You will need
Hexagonal glass jars (I cant remember where I got mine from – probably Wilkinsons)
Air dry clay
Rolling pin (I use the inner tube from a roll of foil)
Water
Paints (I used watercolour pastels but acrylics would work too)
Roll out the clay thinly

I used a ruler and a pair of scissors to get a piece big enough to cover the bottom half of the jar plus a bit to wrap underneath it. The top edge should be as straight as possible.


Wet the jar with a little water and wrap the clay around it. I folded the edge over so it would cover the bottom of the jar.

Use a wet finger to smooth the clay and seal the edges.


Wait for it to dry - overnight is best.
Paint it - I used watercolour pastels but you could use acrylic paints instead

 
Fin!

Friday, 26 January 2018

Faux Brick Heart Bowls


Did you ever feel there was something missing from your life? Obviously the answer is yes because until now you didn't posess a single heart shaped faux brick bowl. Well worry not dear friend, for I have the solution to this most common of problems.

You will need:

Air dry clay
Acrylic paint or watercolour pastels
Cookie cutters
Rolling pin (I just use the inside of an old foil tube)

Roll out the clay, lay the embossing mat over the top and roll over it a few times.


Cut shapes out using cookie cutters. Use a wet finger to smooth the edges out. To curve up the edges lie the shapes inside a small bowl or lid and gently press into shape. Leave to dry for 24 hours (I turned them over once).


Paint with a thin coat of brown acrylic.


Before the paint dries, dab the excess of with tissue or kitchen roll.


I then used watercolour pastels to add more details. You could just use acrylic paint instead.

Brush reds, oranges and browns on randomly.


 Use a wet brush to mix the colours together.


 All done :-)

I have literally no idea what I'm going to use these for.