Showing posts with label christmas. Show all posts

Wednesday, 3 January 2018

7 Foil Crafts To Try Out Now

7 Foil Crafts To Try Out Now
 
Foil is freaking awesome as a craft tool. Here's 7 reasons why.

1. Sculpting
I use cheap kitchen foil as a base for most of my air dry clay and paper mache sculptures. It can be squished into pretty much any shape and holds its form really well. It can also be used as a sculpting material in its own right. Check out Axel Luther's video tutorial on how to make a foil hare.


2. Foil Relief Christmas Tree
Head over to Craft Passion and try out their Christmas Cone tutorial. 


3. Christmas Decorations
Nike at Thrive cleverly recreates the look of expensive metal decorative stars using cheap foil trays.


4. Faux Antique Foil Letters
Eff from Whatchaworkinon uses shoe polish and ModPodge to create these amazing embossed letters.


5. Faux Tin Tiles

Pop over to Suzyssitcom to try out their take on making faux tiles from disposable cookie sheets.


6. Demonic Horns
Chrix Design has an amazing and easy to follow tutorial for making these incredible costume horns.


7. Leaf Relief
Check out Cassie Stephens' excellent lesson on making relief art work using foil and glue.


Monday, 1 January 2018

Turn Old Christmas and Birthday Cards Into Gift Boxes


Instead of dumping all your old Christmas or birthday cards in the recycling bin, you can easily turn them into gift boxes instead.

You will need:

Old cards
Blank card (optional)
PVA glue or double-sided tape
Paperclips (optional)
Scissors
Ruler

Turn Old Christmas Cards Into Gift Boxes

Choose a card that has a central or reocurring image as the edge of the card will form the sides of the box.

Cut the front piece of card away from the back. You can use the back piece as the bottom box (if you don't mind there being writing on it). Otherwise you can use the front piece from another Christmas card or just use a plain piece of card instead.

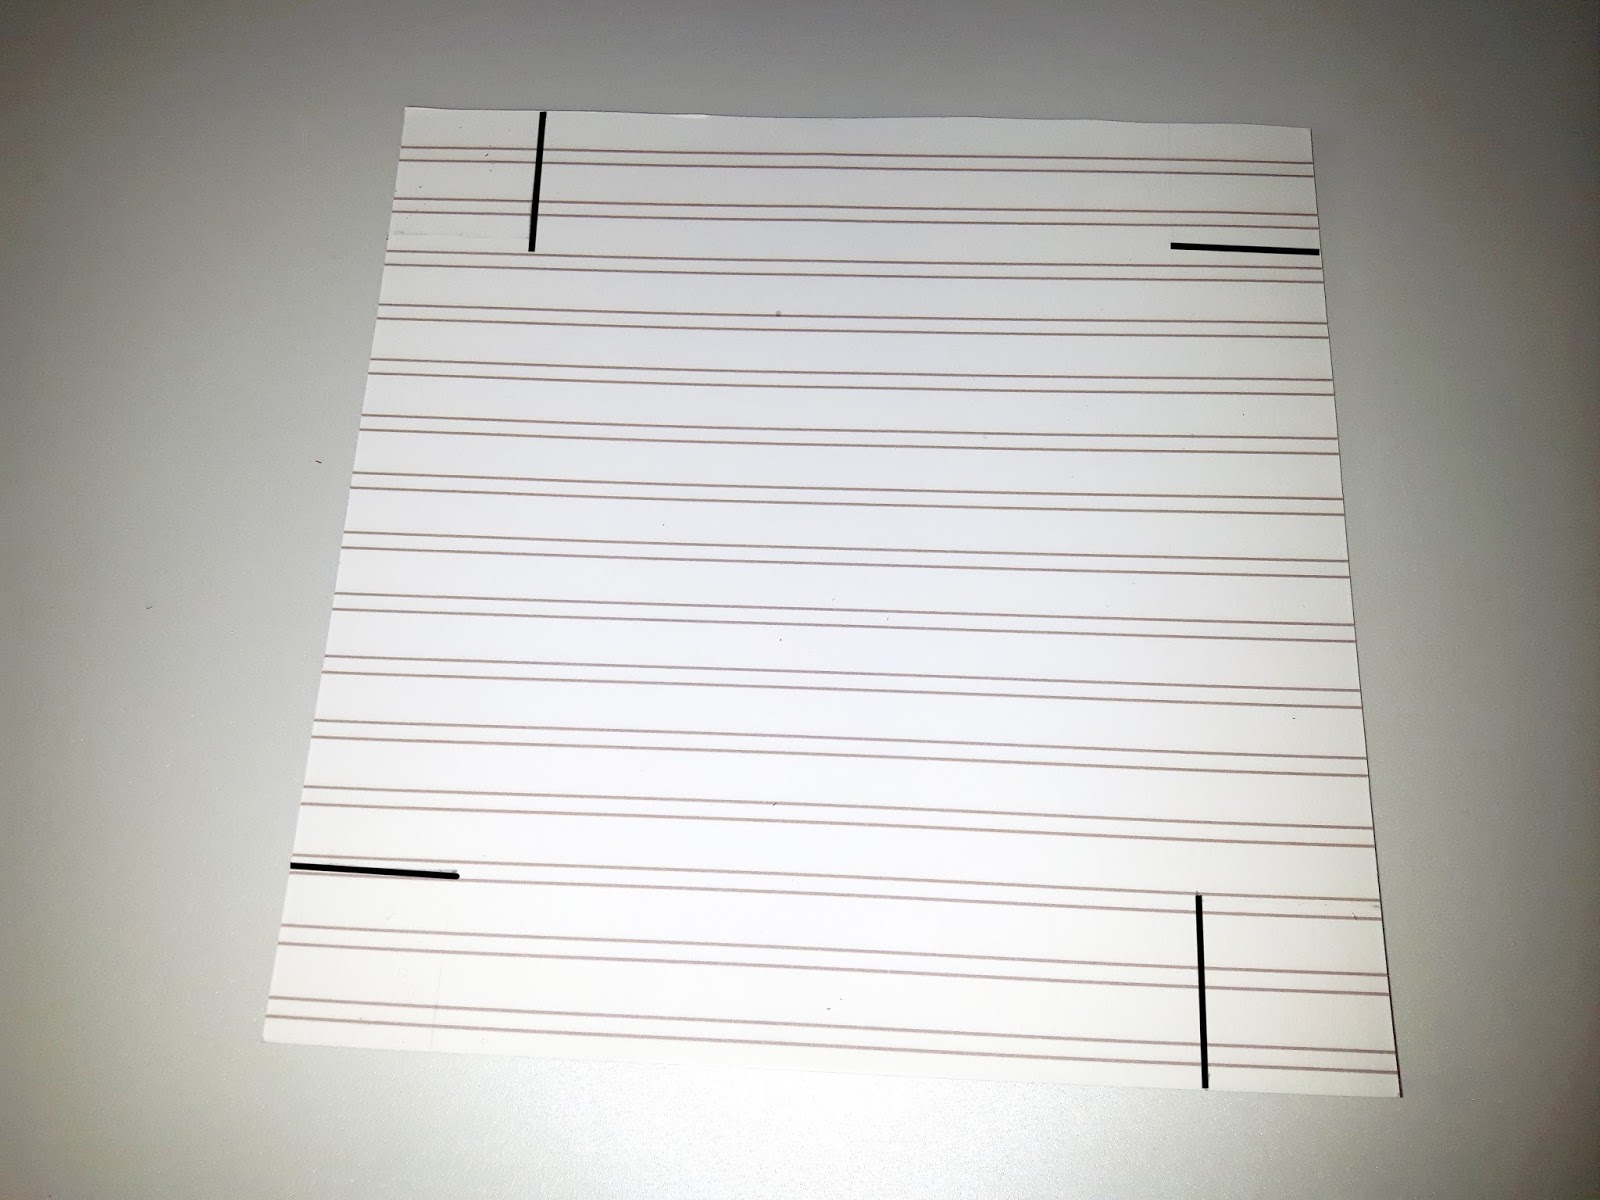
Turn your card over and on the back of the card, pencil in a box shape in each corner. My boxes are 3cm square. The size of the squares will determine the depth of the box. Adjust to suit the card you have and/or the gift you want to put in the box.


Lay a ruler across the lines and use scissors to score all the way across the card (I've drawn them in below but you don't need to).


Cut the lines where indicated below.


Fold the scored edges.


Tuck in the tabs and secure with glue or tape. Use a paperclip to hold the pieces together until the glue dries.

Repeat the steps for the bottom box.

Done!

Turn Old Christmas Cards Into Gift Boxes


Sunday, 10 December 2017

Driftwood Santa


I've seen lots of driftwood Santas on Pinterest lately so I thought I'd have a go at half-arsing my own.

You will need:

Driftwood (I get mine on Ebay)
Acrylic paint
Paintbrushes

Get some driftwood. Mine was about 8cm long

Paint a skin coloured oval shape on it

Add a white beard, hair and sideburns

Paint the top bit red for his hat and add a fat moustache

Give him pink circle cheek, a mouth and some bushy eyebrows

I drew the small details on with a brown fineliner pen because I'm rubbish at painting

He looks like he's seen something horrific. Poor pyschologically damaged Santa.


Driftwood Santa
Add another layer of white to soften the pen details, colour in his eyes and you're done! You could drill a hole  in his hat and hang him up, if you can be bothered.
I cannot.