Showing posts with label easy. Show all posts

Friday, 23 March 2018

No Sew Wall Pocket

I've seen lots of versions of fabic wall pockets on Pinterest. Here's my half-arsed take on it.
no sew wall pocket
 
You will need:
Fabric 
Embroidery Hoop
Faux flowers


no sew wall pocket
Choose your front and back fabric pieces.
no sew wall pocket
Lay the back piece of fabric over the inner part of the embroidery hoop


no sew wall pocket
Lay the front piece over the top (this will form the pocket).

no sew wall pocket
Place the outer part of the hoop over the top and press down.
 
No sew wall pocket tutorial
Tighten the screw, turn it over and trim the excess fabric
 If you're making it as a gift you could follow this tutorial to get a neater finish to the back.

no sew wall pocket
Fill it with faux flowers. Now it's fancy.

Friday, 9 February 2018

400+ Valentine Craft Tutorials To Make Now


Whether you celebrate Valentines Day, or Galentines Day or prefer to throw an Anti-Valentines Day commiseration party instead, this bumper list of tutorials has got you covered.


Red Ted Art have a simple tutorial for making roses out of paper towels.


Idea Stand have a huge list of 70 tutorials to make valentines gifts and decor from mason jars.


These wool hearts by Aunt Peaches are simple and adorable.


Personal Creations have a big list of 75 Valentines Day crafts you can make with your kids.


Head over to Life As Mom for instructions to make these simple salt dough candle holders.


88 Home Decor have 88 tutorials for outdoor Valentines Day decorations.


Try Me and B Make Tea for the recipe to create these adorable Bee Mine Oreo cookies.


Need a card? Willow Day has a tutorial to make this magical Unicorn Valentine card.


Head over to Blue Bear Wood for the how to on these little wool heart decorations.


Wohh Wedding have a list of 25 valentines gifts you can make for men. I mean it says men but there's no law saying you can't make these for women or non-binary genders too. Have at it.


Prefer to celebrate Anti-Valentines Day instead? Check out Wild Amor and make these amazing anti-love heart magnets.


Try Country Living's list of 42 crafts to make for everyone on your Valentine's list.


Pop over to Hative for 30 craft ideas to try for Valentines Day.


There's a great tutorial over at Pillar Box Blue to make these beautiful map roses.


Frugal Coupon Living have a list of 28 easy Valentines Day foods to make.


DIY Joy have a lovely collection of easy gifts to make, including these stunning leather love hearts.


And finally our very own Half-Arsed Crafts tutorials for making Valentines crafts out of air dry clay.


If you try any of these tutorials leave a comment to let us know how you get on!


Wednesday, 8 November 2017

Tiny driftwood weaving


I haven't been weaving very long but it's quite addictive. There are tons of good tutorials on the internet but I particularly like Weave With Pat and The Weaving Loom for their easy to follow guides and examples of the different techniques. 

I fell in love with The Weaving Loom's stick weaving tutorial and decided to give it a go. Visit her tutorial here for a much better example of how to do this, or read on for the half-arsed version. 

You will need:
A Y shaped stick (I used some driftwood). Make sure it's strong enough to withstand some tension.
Embroidery threads, wool, roving and whatever else you feel like weaving with.
A darning needle (the blunt with a big hole kind of needle).

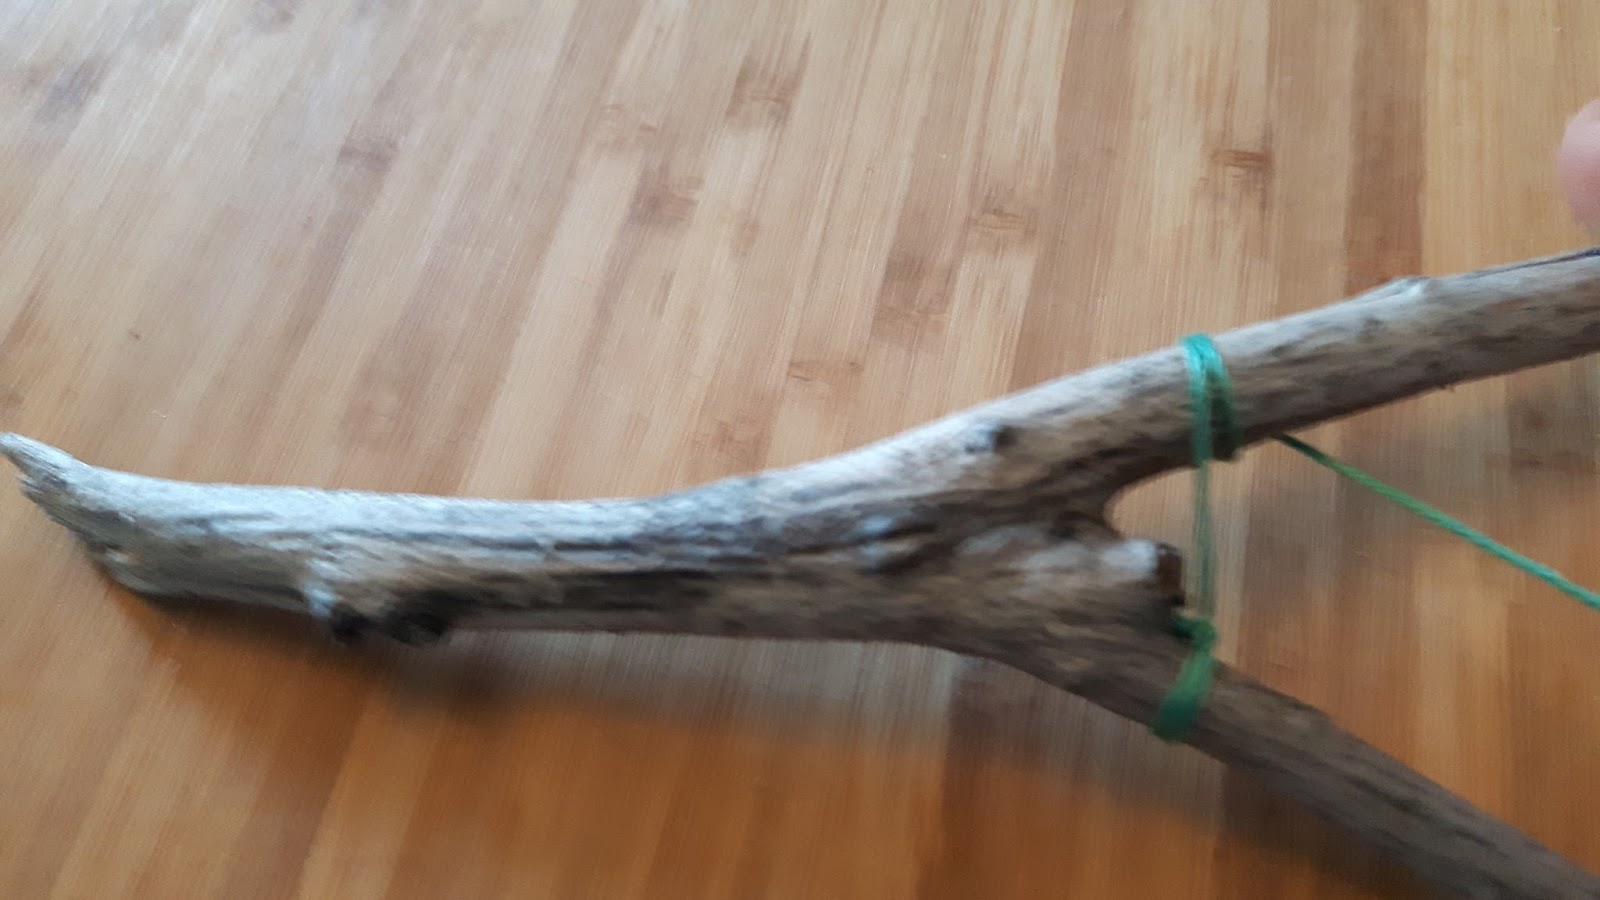
Get yourself a good stick. This is not a good stick. It's very small and fiddly.
Tie some thread to the stick. This will be your warp (the vertical threads)

Wrap the thread around the upper stick (where you knotted it) and then bring it over the lower stick and wrap once.


The thread will cross in the middle. Repeat till you run out of stick.

Tie off the end. You want it to be tight but not super tight. Bouncy but not loose.

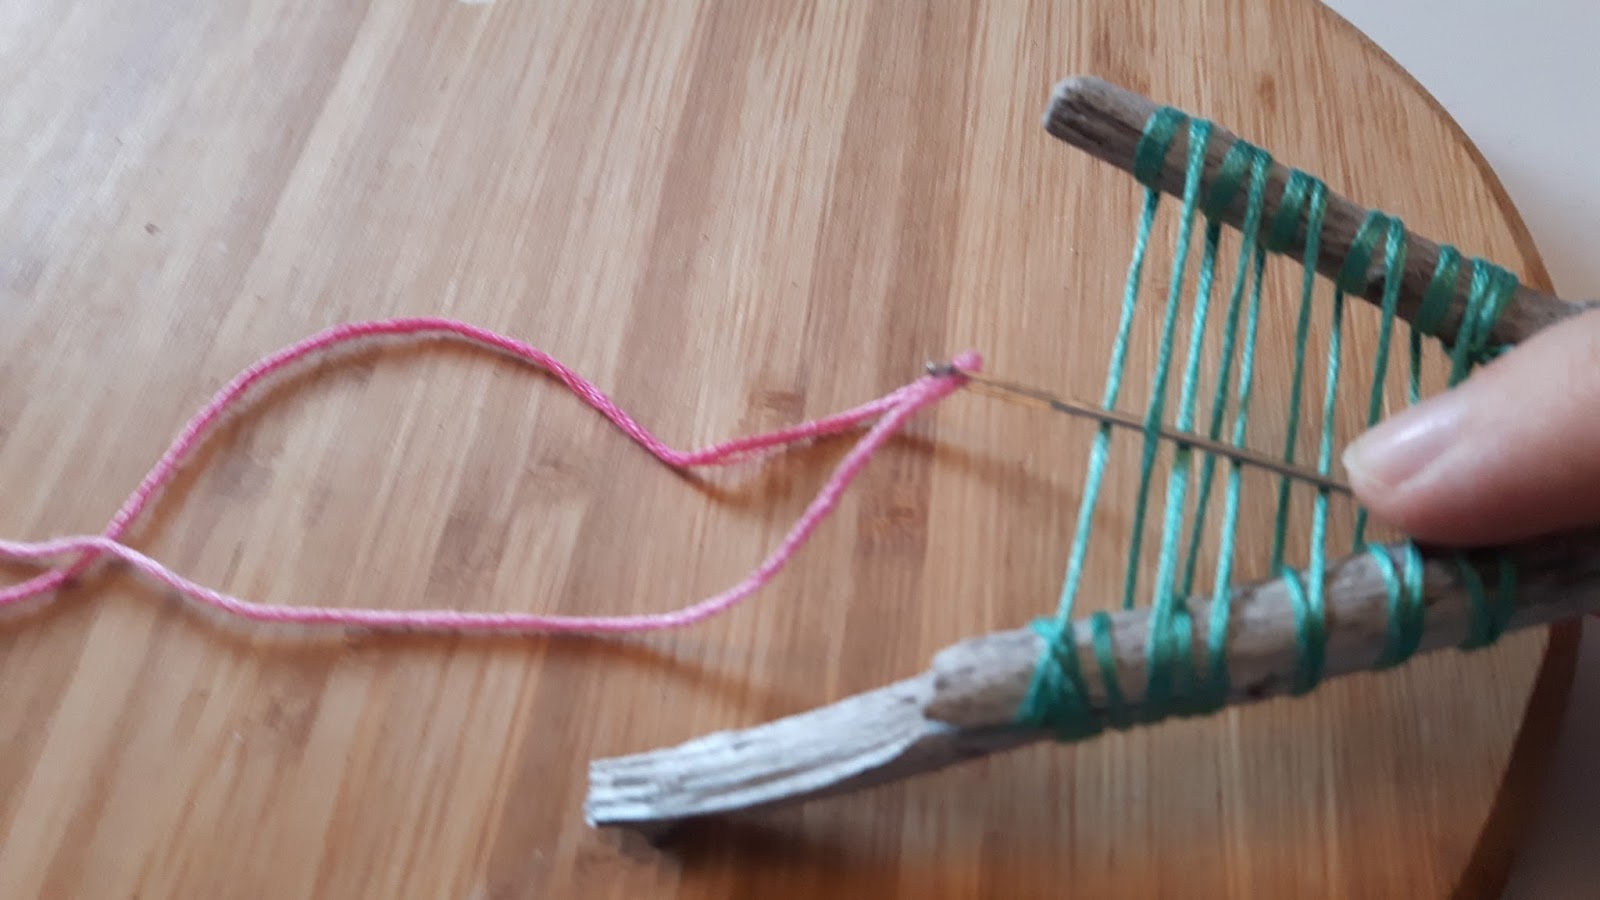
Thread a needle with contrasting embroidery floss. This will be your weft.

Bring the floss over the first warp and under the second.

Repeat until you reach the end.

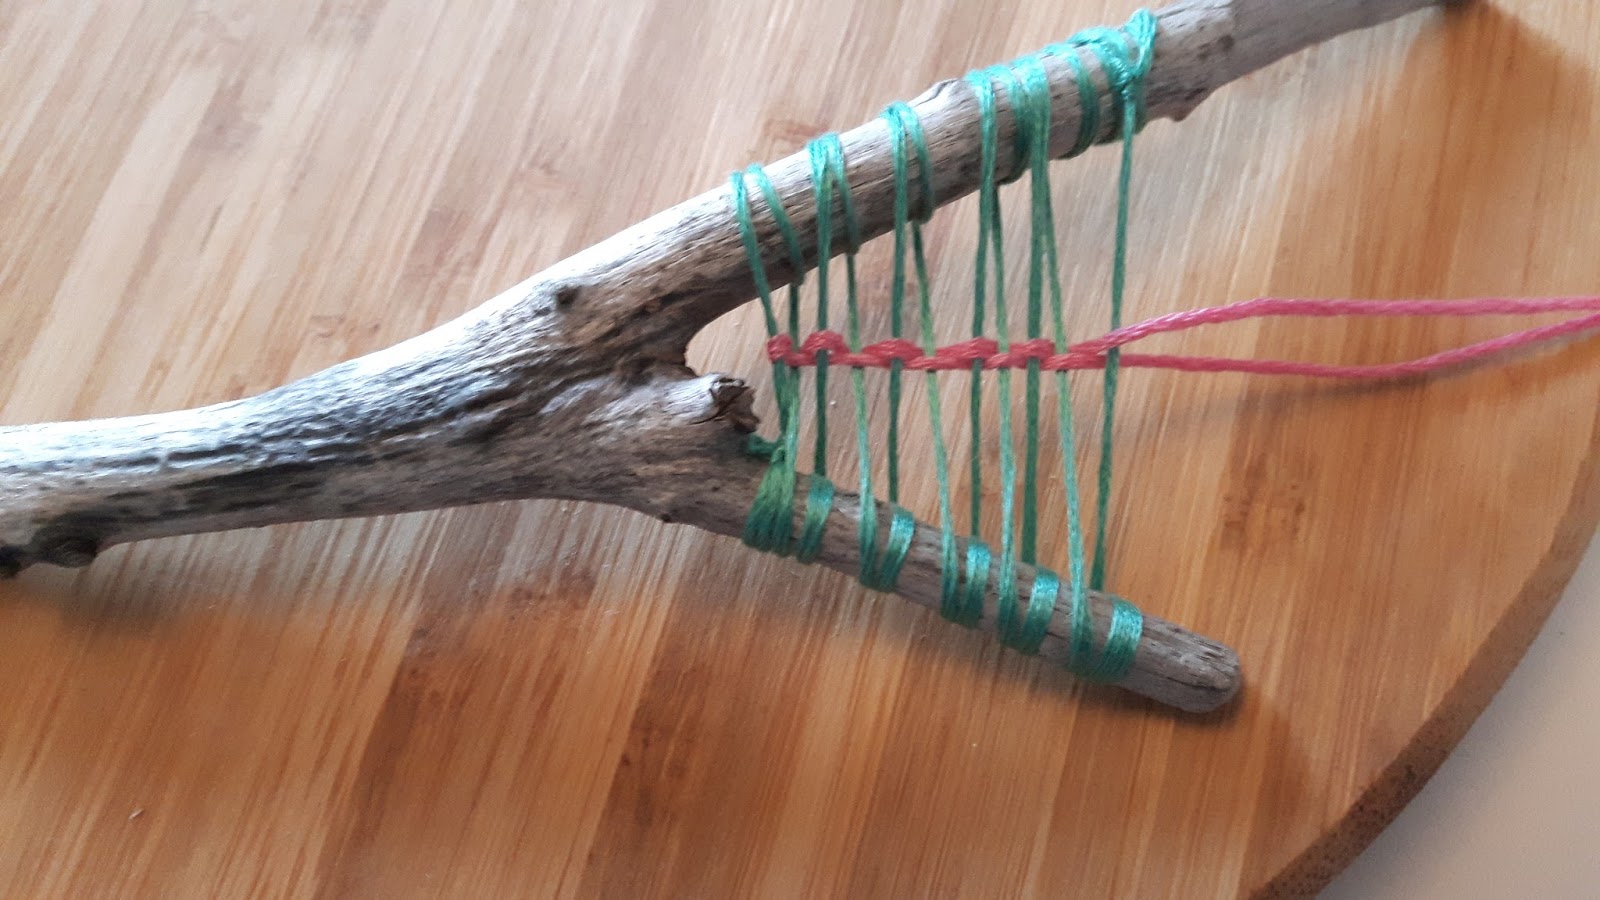
Bring the thread around the last warp and repeat in the other direction.

This line of weft should be opposite to the one above (so under then over)

Use the needle to push the woven threads together. Add another line or two of weft.

Cut the thread leaving a tail a few inches long (You can weave it in later).

The picture isn't upside down. I started weaving upside down. It happens. Add a new line of warp. See here to learn how to do this stitch (it's called Soumak)

Push your lines of weft together and admire it at a jaunty angle.


Repeat the Soumak steps in the opposite direction. It looks like teeny arrows. :-D


Add some more rows of regular stitches. Like the first step. They probably have a name.

Add some wool roving. Regret this bitterly because it's too bloody fiddly in miniature.

Fill the rest of space with fat stitches because you've tired of the tiny weaving experiment.
Use the needle to weave the ends in to the back of the weaving. Do a better job than this hot mess.


Ta Da. Behold your tiny messy woven stick thing.