Saturday, 13 January 2018

Valentines Crafts Using Air Dry Clay


Valentines crafts using air dry clay

Valentines Day is just a few weeks away so here's a couple of easy gifts you can make using air dry clay.

You will need:

Air Dry Clay
Silicone molds (or stamps or lace - anything you can make a pattern with)
Heart shaped cookie cutters
Rolling pin (I just use the cardboard tube from a roll of foil)
Clay modelling tools (I just used a toothpick instead)
String or thin ribbon
Acrylic paint (if you decide to paint them)

Heart Bunting 

Valentines crafts using air dry clay

Roll out your clay. If you're using a mold lay it on top then roll over it a few times. Peel it off the mold.


If you don't have a silicone mold you can put lace or leaves or whatever you like over the top of the clay and roll over it to leave a pattern.


Position your cookie cutters over the clay. I put them randomly so each heart would have a different pattern on it.


Use a toothpick or straw to cut out holes for the string.


Leave to dry for about 24 hours (less if you live in a hot country). Turn over once or twice so both sides dry out.

You can paint them with acrylic if you want, I couldn't be bothered ¯\_(ツ)_/¯


Heart Hanging Pocket

I love these hanging wall pockets that are all over Pinterest. I especially liked these ones by A Shade of Teal


To make some heart shaped wall pockets, you will need the same tools and materials as for the heart garland.

Roll out some clay. I wanted a faux wooden effect so used a wood effect embosser for icing cakes. I can't remember where I got mine from (it's probably in an earlier post) but you can buy something similar here.


Cut out a heart shape using the largest cookie cutter. I then used this shape as a rough guide to cut out the top piece.


Lay the top piece over the heart shape and using wet fingers, smoosh the edges together. I sort of pinch and smooth to get the edges to meet neatly.

Keep smoothing and smooshing until the sides are completely joined.


Use a straw or toothpick to poke two holes for the string.

I wedged a rotary cutter in mine to help it keep the pocket shape as it dries.


 I painted it with some watered down green acrylic then wiped off the excess with some paper towel.

Thread some string through and put a tiny faux plant in it (or whatever else you can find that fits).

Valentines crafts using air dry clay


I painted a few hearts I had left over from making the bunting too. Haven't decided what to do with these yet though. Let me know your ideas!

Valentines crafts using air dry clay


Wednesday, 3 January 2018

7 Foil Crafts To Try Out Now

7 Foil Crafts To Try Out Now
 
Foil is freaking awesome as a craft tool. Here's 7 reasons why.

1. Sculpting
I use cheap kitchen foil as a base for most of my air dry clay and paper mache sculptures. It can be squished into pretty much any shape and holds its form really well. It can also be used as a sculpting material in its own right. Check out Axel Luther's video tutorial on how to make a foil hare.


2. Foil Relief Christmas Tree
Head over to Craft Passion and try out their Christmas Cone tutorial. 


3. Christmas Decorations
Nike at Thrive cleverly recreates the look of expensive metal decorative stars using cheap foil trays.


4. Faux Antique Foil Letters
Eff from Whatchaworkinon uses shoe polish and ModPodge to create these amazing embossed letters.


5. Faux Tin Tiles

Pop over to Suzyssitcom to try out their take on making faux tiles from disposable cookie sheets.


6. Demonic Horns
Chrix Design has an amazing and easy to follow tutorial for making these incredible costume horns.


7. Leaf Relief
Check out Cassie Stephens' excellent lesson on making relief art work using foil and glue.


Monday, 1 January 2018

Turn Old Christmas and Birthday Cards Into Gift Boxes


Instead of dumping all your old Christmas or birthday cards in the recycling bin, you can easily turn them into gift boxes instead.

You will need:

Old cards
Blank card (optional)
PVA glue or double-sided tape
Paperclips (optional)
Scissors
Ruler

Turn Old Christmas Cards Into Gift Boxes

Choose a card that has a central or reocurring image as the edge of the card will form the sides of the box.

Cut the front piece of card away from the back. You can use the back piece as the bottom box (if you don't mind there being writing on it). Otherwise you can use the front piece from another Christmas card or just use a plain piece of card instead.

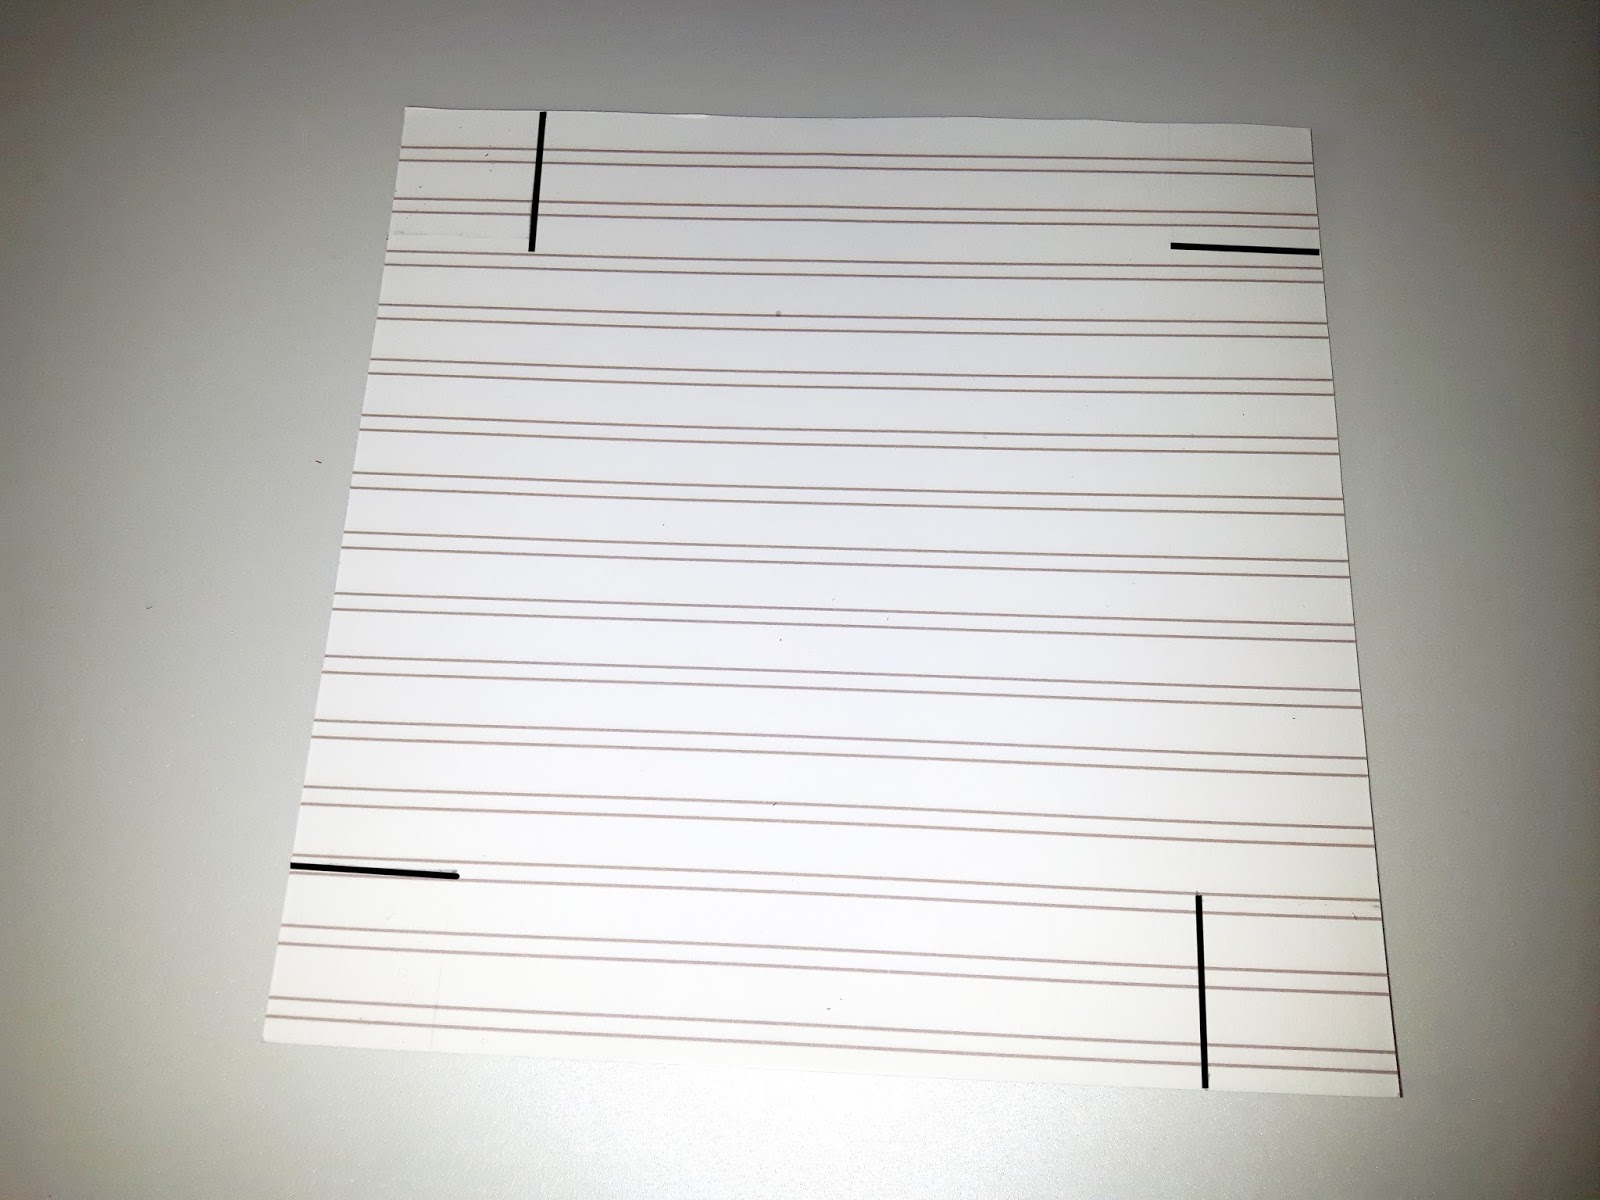
Turn your card over and on the back of the card, pencil in a box shape in each corner. My boxes are 3cm square. The size of the squares will determine the depth of the box. Adjust to suit the card you have and/or the gift you want to put in the box.


Lay a ruler across the lines and use scissors to score all the way across the card (I've drawn them in below but you don't need to).


Cut the lines where indicated below.


Fold the scored edges.


Tuck in the tabs and secure with glue or tape. Use a paperclip to hold the pieces together until the glue dries.

Repeat the steps for the bottom box.

Done!

Turn Old Christmas Cards Into Gift Boxes


Thursday, 28 December 2017

New Year Printables

It's almost the end of the year so here's some festive printables to help you get your party started. Click on the links below to download a free Hello 2018 image, January calendar and Happy New Year bunting. Scroll down for links to the free pdfs.


Click here for the pdf

Click here for the pdf
 
Click on links below for the pdf
HA
PP
YN
EW
YE
AR


Wednesday, 13 December 2017

Competition time again!

It's competition time again :-)


This week we're giving away a deer tote bag, two postcards, a fox embroidery and a woven wall hanging. To enter just subscribe to this blog (if you haven't already) then head over to the pinned post on our Facebook page and comment "done". You can like and share the post for an additional entry.

The winner will be chosen on Sunday 17th December at 7pm.

Good luck!

Sunday, 10 December 2017

Driftwood Santa


I've seen lots of driftwood Santas on Pinterest lately so I thought I'd have a go at half-arsing my own.

You will need:

Driftwood (I get mine on Ebay)
Acrylic paint
Paintbrushes

Get some driftwood. Mine was about 8cm long

Paint a skin coloured oval shape on it

Add a white beard, hair and sideburns

Paint the top bit red for his hat and add a fat moustache

Give him pink circle cheek, a mouth and some bushy eyebrows

I drew the small details on with a brown fineliner pen because I'm rubbish at painting

He looks like he's seen something horrific. Poor pyschologically damaged Santa.


Driftwood Santa
Add another layer of white to soften the pen details, colour in his eyes and you're done! You could drill a hole  in his hat and hang him up, if you can be bothered.
I cannot.

Wednesday, 6 December 2017

Upcycled Cardboard Tray


I was given a couple of cardboard trays and asked if I could come up with some craft ideas to repurpose them. This is my first attempt.


You will need:

Cardboard tray (you might be able to use a polystyrene tray but I've no idea if the clay will stick to it)
Air Dry Clay
Clay tools (I tend to use toothpicks and lollipop sticks)
Old pair of scissors or knife (it will get covered in bits of clay)
Wood grain impression mat (you can just draw the grain with a toothpick if you prefer)
Rolling pin (I use the inner tube from an old roll of foil)
Acrylic paint (brown, white)
Brown ink (optional)

Roll out some clay and press the wood grain mat on top. You can roll gently over the mat to get a more even impression. My mat was too small to cover all the clay so repeat this step until all the clay is covered.

There are lines between the edges of the where the mat was. We can disguise this later.

Lay the clay over the top of the cardboard tray and gently press into the corners. Try not to smudge the grain lines too much.


Trim around the edge with scissors or a scalpel. Wet your fingers with a little water and smooth the edges.


Use a toothpick to tidy up any gaps around the edge of the wood grain impressions and raw back in any lines you smudged when pressing the clay into shape.

 Leave it to dry overnight.


Or, get impatient, remove it too early and crack the edges. Balls.

As Bob Ross would say, we don't make mistakes we have happy accidents. The word of Bob is law, so behold my happy little accident.


When it's (finally) dry you can paint it. I forgot to take pictures of this bit because I don't know what I'm doing and shouldn't be allowed on the internet without adult supervision. I used dark brown acrylic mixed with water to get into all the grooves, then once it had dried, dry brushed a lighter brown over the top. Keep adding different shades of brown with a dry brush until your happy with the colour. I used some brown ink at this point to make it more shiny.

I found it really hard to take a clear picture so here's 3 slightly unclear ones :-)

Upcycled Cardboard Tray


Upcycled Cardboard Tray

Upcycled Cardboard Tray