I'm planning to dress as a fortune teller this halloween so I'm in need of a crystal ball. Here's how I made it. You will need:
Crystal Ball
Spherical light (I used a solar powered garden light from Bargain Buys which I picked up for £1)
LED battery powered lights (colour changing ones would look even better)
Clingfilm
Blue and black tulle pieces (you could probably also use tissue paper or coloured cellophane)
Purple fake spider web (again you can subsitute anything coloured and somewhat see through)
Base
Foil (I used hair foil which is a bit thicker than aluminium foil - although regular foil should still work)
Cardboard
Astrology print out (or you can draw your own symbols - I mostly drew my own because it was much easier)
Acrylic paints (I used bronze and brown) and paintbrushes
PVA glue
Paper towel
Hot glue gun and glue sticks
Pipe cleaners
Stick on beads (You can use whatever you like to make the shapes - I just had these to hand) and any decorations you want to add (I used a plastic snake and a tiny horseshoe)
Ready mixed plaster (you might not need this if your cardboard is thick enough)
 |
| Garden light thingy |
|
|
 |
| I cut out the astrology circle thing and stuck it to some cardboard. Then I cut the centre out. |
I had planned to recreate the symbols using hot glue, or pipe cleaners, or something. It didn't work very well so I mostly just used the sticky gems instead.
 |
| I used pipe cleaners for the segments. I just wrapped them around the carboard and twisted them at the back. |
 |
| Stick down beads or whatever you have to form the symbols. |
 |
| Brush on a layer of PVA glue |
 |
| Cover with a layer of foil |
Gently smooth and press the foil in between the beads and pipe cleaners until you can see their shapes more clearly. I rushed this part and had a few splits in the foil. Let's hope the paint covers them up!
 |
| The hair foils come in a roll, if you use tinfoil just cut a big enough piece to cover the circle in one go |
 |
| Wrap the foil around the back of the circle and keep pressing and smoothing |
You can use a cotton bud to gently hammer out any air bubbles. You want the foil to be as compressed and tight against the cardboard as possible.
 |
| The cardboard felt a bit flimsy so I smudged a layer of plaster on the back and left it to dry |
 |
| Brush on a layer of brown acrylic paint |
 |
| While it's still wet, dab off most of the paint with a paper towel |
 |
| Once it had dried I did the same with some bronze paint |
 |
| Stuff some climgfilm and spider web stuff inside the sphere |
 |
| Push in some of the lights |
 |
| Add a bit of tulle |
It took a few attempts to get the lights and coloured pieces exactly how I wanted them, so turn the LED lights on and check you're happy with the placement as you go.
 |
| Cut |
You could measure the diameter of the astrology circle then times that by pi to find out how long a piece of cardboard you need. Obviously that's way too much work, so I just eyeballed it.
 |
| I cut at rough intervals, rolled the carboard into a tube and secured it with doublesided tape |
 |
| Fold the teeth things down. Your circle and ball are going to sit on top |
 |
| Repeat the painting steps to get a metallic effect |
 |
| Feed the LED batteries through the hole |
 |
| Glue the circle thingy to the base thingy |
 |
| I didn't like the messy edge (yes sometimes measuring would be worth the effort) so I glued on some silver leaves |
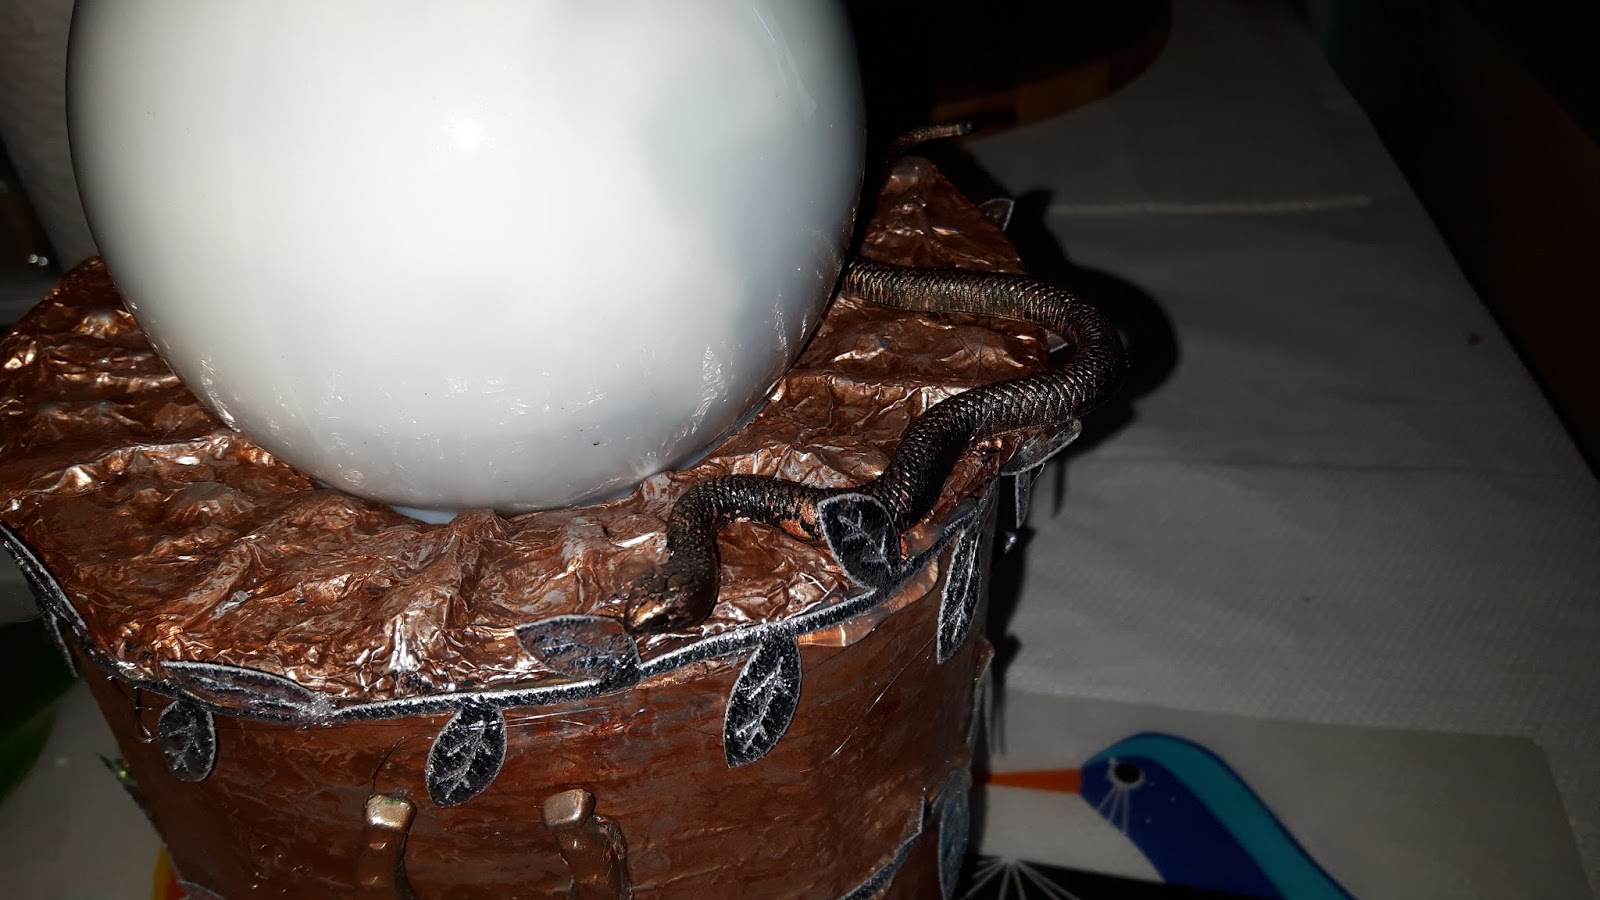
 |
| And a happy little snake |
 |
| I found a tiny horseshoe so I glued that on too and dry brushed it with the bronze paint |
 |
| Finished! |


No comments:
Post a Comment