

Open a new file, A4

I’m going to freehand sketch the cactus but if you prefer
you can download a picture of a cactus, copy/paste it into your Photoshop document and then trace over it (just make sure you draw
on a new layer and not on the image itself).
Click L on your keyboard to select the Lasso tool (or right
click on the toolbox and select it)

Create a new layer and rename it Cactus (double click on
layer 1 and type in the new name).
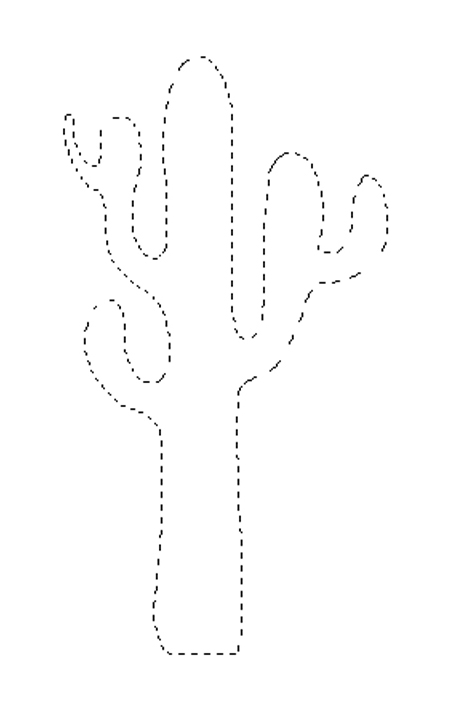
Click anywhere on the canvas and draw the cactus shape by dragging
the pointer around in the shape you want. Release the mouse near the starting
point to close the loop.

Or you can type 7bbb7b in the box with a # - this will
select the same colour green which I have used.
Click Ok twice and click anywhere on the canvas to deselect
the lasso.
Let’s add some spikes.
Create a new layer. Select the brush tool (B). Round brush size
20, hardness 100


Drag the circle down to a darker shade of green (or type 558755
in the # box)

With the brush tool and new layer selected, draw a few
dashes on your cactus.

Press CTRL J to copy the layer. Select the Move tool and
drag the dashes down slightly.

Press CTRL J again then CTRL T. A transform box will appear
with a curved arrow instead of a cursor. Drag in a circle around the transform
box to rotate it until the layer is upside down. Press enter to accept the
change and close the transform box.

Hold down CTRL and select all of the new spike layers. Right
click and select merge layers.
CTRL J to copy this layer again and move downwards on the
cactus. Keep repeating until you have filled most of the cactus. Add any
remaining spikes with the brush tool. Don’t worry if some of the spikes go over
the edge of the cactus, we can deal with those later.

You can stop it looking too uniform by transforming the
layers. Either by rotating as we did about or you can click CTRL T to open the
transform box. Then right click and select flip horizontal or vertical to add
some variety.

With the top spike layer selected, hold down SHIFT and click
on the bottom layer of spikes (not the cactus layer) so select all the spike
layers. Right click and selected merge layers.
Click on the cactus layer and hit W on your keyboard to
select the Magic Wand tool.
Click anywhere on the canvas that is outside of the cactus.
With the selection still active, click on the merged spike layer and hit
Backspace on your keyboard. This deletes anything which lies outside of the
edge of the cactus.

With the Magic Wand tool selected (W) click anywhere on the
canvas to deactivate the selection.
Hold CTRL and click on the cactus layer then right click and
merge layers.
Select the Move tool and drag the cactus slightly to the
left side of the canvas.
I added a few more spikes here with the Brush tool. I wanted some sticking out so went over any near the edge of the cactus that had been cut off and filled in any gaps.

Click T to select the Type tool and click on the canvas to
the right side of the cactus. Type the words "Free Hugs"
Choose any font you like (I used Bambino size 90, centrally
aligned – I think I got this font from Design Cuts). You can open Window,
Character to adjust the type (I changed the line spacing to
90)

With the Type tool still selected, I changed the font colour
to pink (#e29ee5). Just click in the green coloured box and choose a colour you
like.

Press C to select the Crop tool – we’re going to make the
canvas a little smaller.
Move your curser over the corners of the Crop box and drag
them in to shrink the size of the canvas. Don’t get too close to the cactus or
text or you will cut them off.

When you’re happy with the size press enter to cut off the
excess canvas.
Fin!
No comments:
Post a Comment