 |
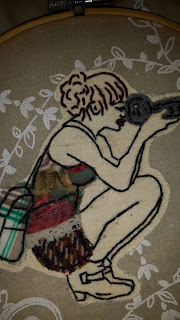
| It was less blurry in real life, honest. |
Embroidery & Applique Tutorial
You will need:
Embroidery hoop
Backing fabric (you need it to be a few inches larger than the hoop)
Circle of light coloured felt (same size or slightly smaller than the embroidery hoop)
Piece of skin coloured fabric (light fabric is easier to work with than dark - for darker skintones there's a really useful tutorial here that might help)
Image to trace or copy (I used a copyright free one from pixabay - click here)
Scraps of patterned fabric and/or coloured felt
Disappearing or wash-off fabric pen - I use these although I get mine from a local craft store)
Sewing scissors
Bondaweb (you can get it here)
Embroidery thread and needle
For the applique I’m going to break the image down into several sections.
Using a biro pen, trace roughly around the entire image onto Bondaweb (follow the instructions on the packet). You want to leave a bit of a border around the edge of the image as this piece will be stuck onto the skin coloured fabric and form the base of your embroidery.
Bondaweb will reverse any image so, if you want the image to face the same way as the original you need to trace the back of your image instead. This often only matters when you’re tracing letters, so I’m not worried about reversing my image for this project.
Bondaweb will reverse any image so, if you want the image to face the same way as the original you need to trace the back of your image instead. This often only matters when you’re tracing letters, so I’m not worried about reversing my image for this project.
Cut the image roughly out of Bondaweb and apply it to the skin coloured fabric (with the rough side against the back of your fabric, press down with a dry (no steam) iron for a few seconds until it sticks). Leave the backing on for now.
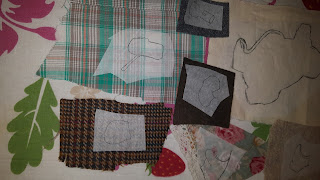
Trace over the clothes and camera on separate pieces of Bondaweb. Any pieces which will use the same fabric can be grouped together. Cut them out roughly and attach the Bondaweb to the fabric as above.
Cut out the pieces out neatly and discard any excess fabric.
Peel off the backing on each piece of fabric and assemble them in the centre of the backing fabric.
Using an iron with high steam setting, press firmly to attach each piece one at a time (start with the skin tone fabric and build upwards.
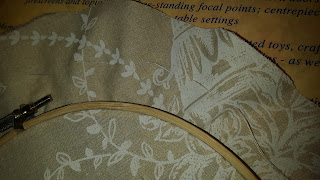
Place the cotton fabric over the inner embroidery hoop, place the outer hoop on top and press together. Make sure there aren’t any puckers or pleats – you can pull gently on the edges of the fabric to adjust. Once it’s all smoothly in place, tighten the screw as much as you can. The fabric should be taught with even tension all the way around.
Roughly cut the edge of the cotton so there is a 2 inch border around the hoop.
Embroidery threads are usually 6 strands thick. Cut a piece of black thread, generally people say it shouldn’t be longer than the distance from your fingers to your elbow (about 12 inches) to reduce the chance of knots. I hate threading my needle that often so I usually make mine a bit longer (and it often gets knots in it). Split the thread into two pieces (3 strands thick) and thread your needle. There's a great video here showing two ways to do this - I tend to use the second way.
I used backstitch for the majority of the sewing. There’s a good tutorial of how to do it here.
You can start anywhere you like. Sew close to the edge of the fabric (leaving a small amount of fabric on the very edge) and use the thread to outline the various parts of the image. It’s up to you how much detail you want to include.
You can change the colour of thread to match what you are sewing (so I used brown for the hair, red for the lips etc). For the face outline I wanted to use a finer thread so I separated two strands of black thread to use (instead of three). 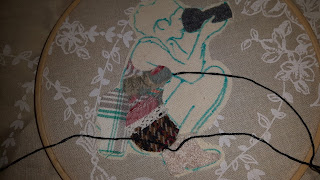 |
| Insert the needle from behind the fabric and pull the thread through |
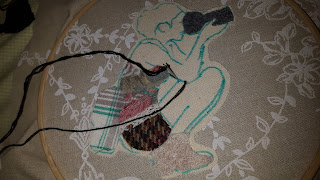 |
| Leave a small gap and push the needle back into the fabric |
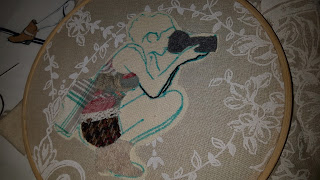 |
| Use backstitch to outline all the blue lines |
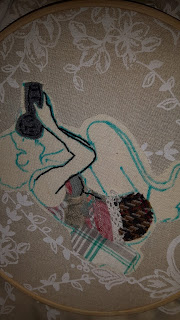 |
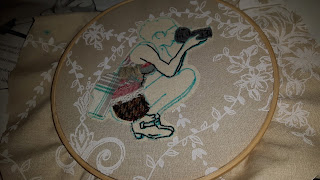
| Outline the clothes and other accessories |
 |
| Refer back to the original picture to add details to the bag etc |
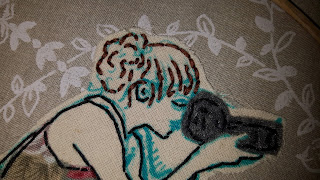 |
| Change to a brown thread (3 strands) and add the hair details |
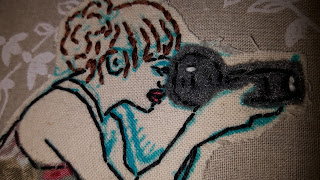 |
| Sew the face (I unpicked this after and redid with 2 strands instead of 3) and add details to the camera. |
Once everything is sewn, hold the embroidery (still in its hoop) under cold running water until the blue pen has completely gone and leave to dry.
Once it’s dry we need to tidy up the back. About an inch away from the edge of hoop, sew a loose running stitch all the way around. It doesn’t really matter what thread you use as it will be hidden but I used normal white sewing cotton thread – the only thing that matters is that it is strong enough to handle some tension.
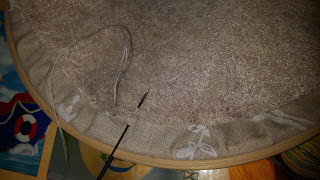
Pull gently on the thread to gather the fabric. You can use your fingers to adjust the gathers so that they are evenly spread. I like to sew the edges of the fabric to pull them closer together.
 |
| Sew a running stitch and pull on the threads to gather the fabric |
 |
| Sew the edges together (sort of - this will add tension and tidy up the gathers) |
Take the circle of felt and use a similar coloured thread to stitch it to the back of the embroidery using whatever stich you like. There’s a better tutorial of how to do this here.
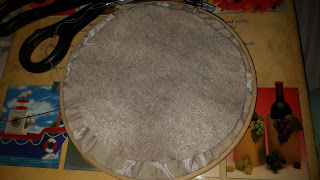 |
| Place the felt circle on the back and position it in the centre |
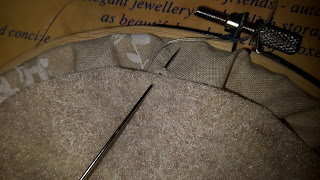 |
| Stitch it to the back. You can use any stitch you like |
 |
| Hopefully you'll take your time and make it neater than mine |
Admire your finished embroidery, then take a crappy blurred picture of it to share with the world!
¯\_(ツ)_/¯






No comments:
Post a Comment