Showing posts with label fabric crafts. Show all posts

Wednesday, 9 May 2018

250 Mother's Day Crafts Roundup


Mother's Day is nearly here (at least in America, which is where my mother happens to live) so here's a collection of all the best handmade gifts, cards and crafts the internet has to offer.

Live, Laugh, Rowe have a great collection of 25 Fabulous Handmade Gift Ideas that are fun and affordable.Covering everything from e-book covers; jewellery and table runners; to scarves; nesting bowls and salted caramels, you're certain to find something perfect to make.

25 handmade gift ideas


I Heart Crafty Things have a tutorial to make this awesome Unicorn Card. Click here to go straight to it. To make it even easier you can subscribe to their weekly newsletter at the bottom of the post to get their free unicorn card template.

Easy Unicorn Card Craft


Head over to For Creative Juice for their list of 28 Creative Handmade Photo Crafts and you'll find all sorts of ideas for adding a personal, photographic touch to crafts including candles, ceramic ornaments, wall hangings and luminaries. You'll also find lots up ideas for upcycling items by adding or transfering photos onto them.

28 creative photo crafts

You can find tutorials for 36 Homemade Mother's Day Gifts over at DIY Projects. The tutorials include photo frames, homemade spa recipes, a personalised tote bag pattern, magnets and paper flower tutorials. There's a good mix of ideas for both kids and adults to make something special for Mother's Day.

36 Homemade Mothers Day Gifts

DIY Joy have collected 37 of the Most Thoughtful DIY Mother's Day Ideas, from easy and quick crafts to handmade arts and crafts projects, these 37 DIY ideas are super creative and crafty. From spa day gift baskets to cute table accessories that will have Mom think of you every time she sits down to at her desk, you are sure to find something awesome to make for your mom here.

37 thoughtful mothers day gift ideas


If you've been following Half-Arsed Crafts for a while you might recall some of our own tutorials that would make ideal Mother's Day Gifts, such as our very fancy Pastel Clay Dipped Jars;


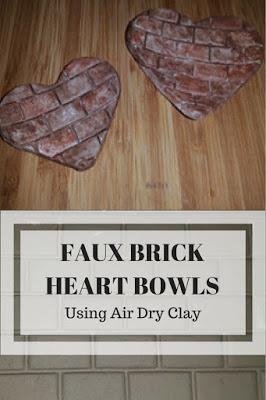
Our pretty Faux Brick Heart Bowls;

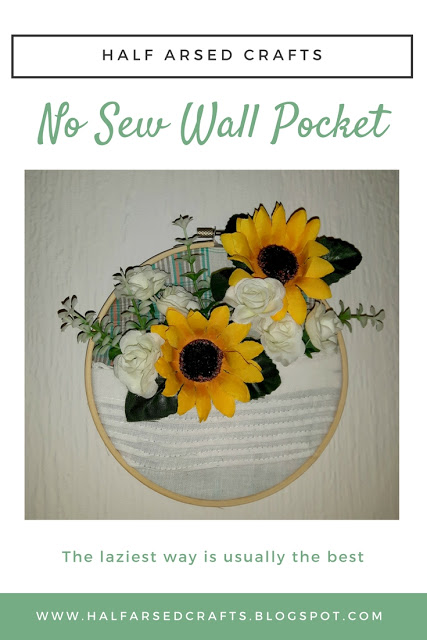
And our super easy No Sew Wall Pockets.


What Moms Love show how to create a Keepsake Keychain using shrink film. It's so simple kids can easily create awesome looking initial keyrings by following their tutorial. They also show you how to trace photos to make stunning headshot charms as well. Click here to see both tutorials.
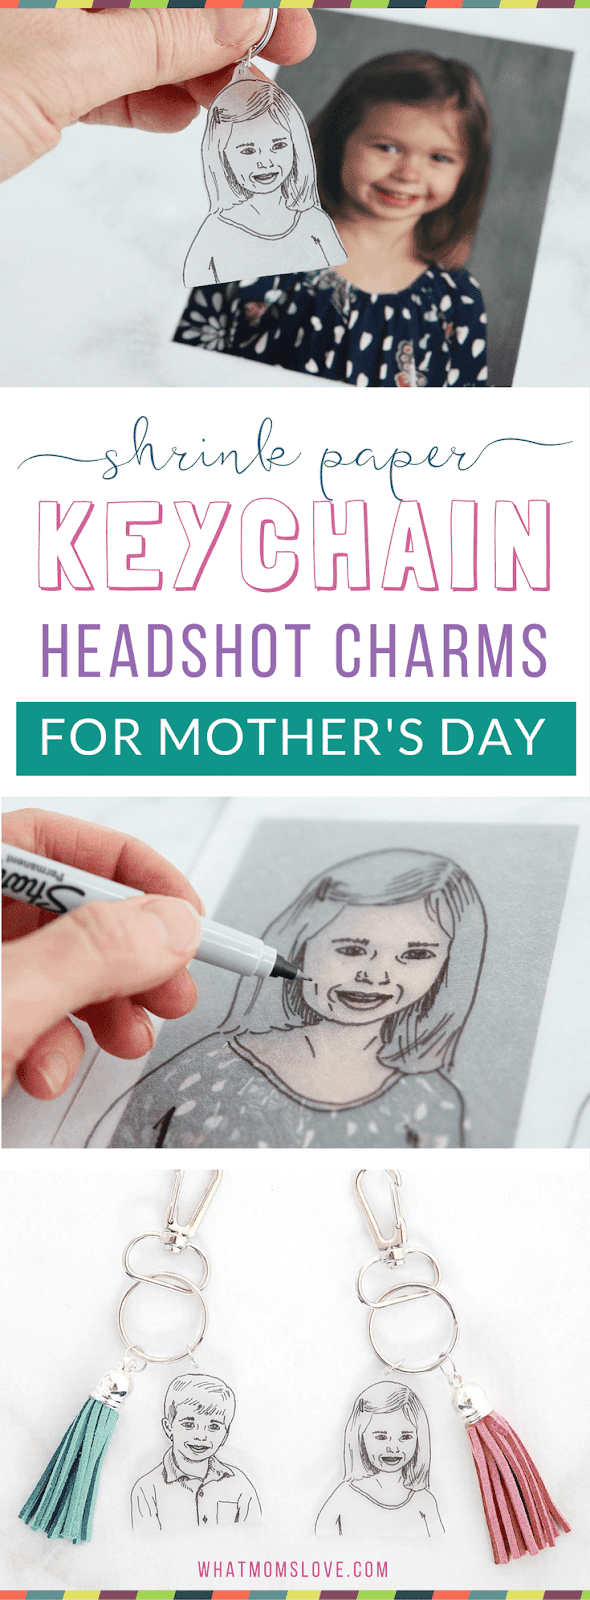
Shrink Film Keychains


The 36th Avenue have an incredible list of 100 Handmade Gifts to make for less than $5. You can find everything from homemade soap and candles, to sunglass cases and monogram key chains. They also have recipes, DIY plant makers and jewellery trays. Some of the tutorials are seasonal but the majority would suit any occasion so there's plenty to choose from. Click here to check them out.

100 gifts to make for less than $5
Head over to DIY in PDX for their 16 DIY Gift Ideas. They have some great ideas including leather liquor bottle labels (try saying that fast), concrete ring cones and cheese boards. Click here for the link.

16 diy gift ideas


Finally, Popsugar have collected 12 Creative and Easy Crafts to make using crayons including luminaries, candles and these pretty hanging heart crayon decorations. You can find their tutorials here.


If you make any of these for your mom, do let us know in the comments!


Tuesday, 3 October 2017

Embroidery Tutorial


Embroidery tutorial
It was less blurry in real life, honest.

Embroidery & Applique Tutorial

You will need:

Embroidery hoop
Backing fabric (you need it to be a few inches larger than the hoop)
Circle of light coloured felt (same size or slightly smaller than the embroidery hoop)
Piece of skin coloured fabric (light fabric is easier to work with than dark - for darker skintones there's a really useful tutorial here that might help)
Image to trace or copy (I used a copyright free one from pixabay - click here)
Scraps of patterned fabric and/or coloured felt
Disappearing or wash-off fabric pen - I use these although I get mine from a local craft store)
Sewing scissors
Bondaweb (you can get it here)
Embroidery thread and needle

I copy pasted the image into Photoshop and resized then printed a couple of copies. (You can do it with one copy but I find it easier to work from a couple - you don't need Photoshop to do this, you can paste it into Microsoft Paint or Word if needs be).

The extended leg doesnt fit inside the embroidery hoop, so I’ll be ignoring it. 

Embroidery tutorial


For the applique I’m going to break the image down into several sections.

Using a biro pen, trace roughly around the entire image onto Bondaweb (follow the instructions on the packet). You want to leave a bit of a border around the edge of the image as this piece will be stuck onto the skin coloured fabric and form the base of your embroidery.

Embroidery tutorial


Bondaweb will reverse any image so, if you want the image to face the same way as the original you need to trace the back of your image instead. This often only matters when you’re tracing letters, so I’m not worried about reversing my image for this project.

Cut the image roughly out of Bondaweb and apply it to the skin coloured fabric (with the rough side against the back of your fabric, press down with a dry (no steam) iron for a few seconds until it sticks). Leave the backing on for now. 

Trace over the clothes and camera on separate pieces of Bondaweb. Any pieces which will use the same fabric can be grouped together. Cut them out roughly and attach the Bondaweb to the fabric as above.

Embroidery tutorial

Cut out the pieces out neatly and discard any excess fabric.

Peel off the backing on each piece of fabric and assemble them in the centre of the backing fabric.

Using an iron with high steam setting, press firmly to attach each piece one at a time (start with the skin tone fabric and build upwards.

Embroidery tutorial


Place the cotton fabric over the inner embroidery hoop, place the outer hoop on top and press together. Make sure there aren’t any puckers or pleats – you can pull gently on the edges of the fabric to adjust. Once it’s all smoothly in place, tighten the screw as much as you can. The fabric should be taught with even tension all the way around.


Roughly cut the edge of the cotton so there is a 2 inch border around the hoop.

Embroidery tutorial

Embroidery threads are usually 6 strands thick. Cut a piece of black thread, generally people say it shouldn’t be longer than the distance from your fingers to your elbow (about 12 inches) to reduce the chance of knots. I hate threading my needle that often so I usually make mine a bit longer (and it often gets knots in it). Split the thread into two pieces (3 strands thick) and thread your needle. There's a great video here showing two ways to do this - I tend to use the second way.

I used backstitch for the majority of the sewing. There’s a good tutorial of how to do it here.

You can start anywhere you like. Sew close to the edge of the fabric (leaving a small amount of fabric on the very edge) and use the thread to outline the various parts of the image. It’s up to you how much detail you want to include.

Embroidery tutorial
Insert the needle from behind the fabric and pull the thread through


Embroidery tutorial
Leave a small gap and push the needle back into the fabric
Embroidery tutorial
Use backstitch to outline all the blue lines

Embroidery tutorial
Outline the clothes and other accessories
You can change the colour of thread to match what you are sewing (so I used brown for the hair, red for the lips etc). For the face outline I wanted to use a finer thread so I separated two strands of black thread to use (instead of three).

Embroidery tutorial

Embroidery tutorial
Refer back to the original picture to add details to the bag etc

Embroidery tutorial
Change to a brown thread (3 strands) and add the hair details

Embroidery tutorial

Embroidery tutorial
Sew the face (I unpicked this after and redid with 2 strands instead of 3) and add details to the camera.

Embroidery tutorial

Once everything is sewn, hold the embroidery (still in its hoop) under cold running water until the blue pen has completely gone and leave to dry.

Embroidery tutorial


Once it’s dry we need to tidy up the back. About an inch away from the edge of hoop, sew a loose running stitch all the way around. It doesn’t really matter what thread you use as it will be hidden but I used normal white sewing cotton thread – the only thing that matters is that it is strong enough to handle some tension.

Pull gently on the thread to gather the fabric. You can use your fingers to adjust the gathers so that they are evenly spread. I like to sew the edges of the fabric to pull them closer together.

Embroidery tutorial
Sew a running stitch and pull on the threads to gather the fabric

Embroidery tutorial
Sew the edges together (sort of - this will add tension and tidy up the gathers)

Take the circle of felt and use a similar coloured thread to stitch it to the back of the embroidery using whatever stich you like. There’s a better tutorial of how to do this here.
Embroidery tutorial
Place the felt circle on the back and position it in the centre

Embroidery tutorial
Stitch it to the back. You can use any stitch you like

Embroidery tutorial

Embroidery tutorial
Hopefully you'll take your time and make it neater than mine

Admire your finished embroidery, then take a crappy blurred picture of it to share with the world!

¯\_(ツ)_/¯

Embroidery tutorial