Thursday, 12 October 2017

Useful Websites For Designers


I've gathered together a list of the websites I find most useful when designing.


You can access some of the best creative resources here at heavily discounted prices (often up to 99% off). They offer really useful bundles of vectors, fonts, backgrounds, textures etc which include a commercial licence (see their terms for details).

I’ve purchased half a dozen of their bundles over the years and use them all frequently in my work.

They also regularly give out lovely freebies (check out their delightful watercolour freebie here) and they have pages of easy to follow tutorials. I really can’t praise this site highly enough.


Chris Spooner’s blog is a great resource for designers. He regularly posts some of the best tutorials I’ve seen for Photoshop and Illustrator as well as numerous freebies. You also get a big bundle of free resources if you sign up to the newsletter.  I love this video tutorial for creating a blueprint effect in Photoshop 
The site also offers a premium membership for $10 per month, which gives you access to thousands of additional resources including actions, brushes and vectors.

A commercial licence is usually included with all the resources but do check the terms to be certain of the specifics. As with Design Cuts, this is a site I go back to time and time again.


Pinterest has many uses but what I love most are the multitudes of tutorials they have all gathered in one place (for graphic design, crafts, DIY, cooking, cosplay, makeup effects - if you can think of it, you can probably find it on Pinterest). I also obsessively hoard collect colour palettes on there, so I can quickly find great colour schemes for any projects I’m working on. You can find this palette here.


A huge site filled with tips, inspiration and tutorials. I love their curated list of the best free fonts available for designers, saving you the effort of trawling through font download sites. You can find it here. 


Lots of tutorials, freebies and design tips can be found here. Not everything you find on there will be available for commercial use, so check the terms carefully. There's a great list of Illustrator tutorials to try out which you can find here.

Free Design Resources


High quality design resources that are totally free for commercial use. Their freebies include fonts, mockups, graphics and templates.

I hope you find some of the websites as useful as I have!


Tuesday, 3 October 2017

Embroidery Tutorial


Embroidery tutorial
It was less blurry in real life, honest.

Embroidery & Applique Tutorial

You will need:

Embroidery hoop
Backing fabric (you need it to be a few inches larger than the hoop)
Circle of light coloured felt (same size or slightly smaller than the embroidery hoop)
Piece of skin coloured fabric (light fabric is easier to work with than dark - for darker skintones there's a really useful tutorial here that might help)
Image to trace or copy (I used a copyright free one from pixabay - click here)
Scraps of patterned fabric and/or coloured felt
Disappearing or wash-off fabric pen - I use these although I get mine from a local craft store)
Sewing scissors
Bondaweb (you can get it here)
Embroidery thread and needle

I copy pasted the image into Photoshop and resized then printed a couple of copies. (You can do it with one copy but I find it easier to work from a couple - you don't need Photoshop to do this, you can paste it into Microsoft Paint or Word if needs be).

The extended leg doesnt fit inside the embroidery hoop, so I’ll be ignoring it. 

Embroidery tutorial


For the applique I’m going to break the image down into several sections.

Using a biro pen, trace roughly around the entire image onto Bondaweb (follow the instructions on the packet). You want to leave a bit of a border around the edge of the image as this piece will be stuck onto the skin coloured fabric and form the base of your embroidery.

Embroidery tutorial


Bondaweb will reverse any image so, if you want the image to face the same way as the original you need to trace the back of your image instead. This often only matters when you’re tracing letters, so I’m not worried about reversing my image for this project.

Cut the image roughly out of Bondaweb and apply it to the skin coloured fabric (with the rough side against the back of your fabric, press down with a dry (no steam) iron for a few seconds until it sticks). Leave the backing on for now. 

Trace over the clothes and camera on separate pieces of Bondaweb. Any pieces which will use the same fabric can be grouped together. Cut them out roughly and attach the Bondaweb to the fabric as above.

Embroidery tutorial

Cut out the pieces out neatly and discard any excess fabric.

Peel off the backing on each piece of fabric and assemble them in the centre of the backing fabric.

Using an iron with high steam setting, press firmly to attach each piece one at a time (start with the skin tone fabric and build upwards.

Embroidery tutorial


Place the cotton fabric over the inner embroidery hoop, place the outer hoop on top and press together. Make sure there aren’t any puckers or pleats – you can pull gently on the edges of the fabric to adjust. Once it’s all smoothly in place, tighten the screw as much as you can. The fabric should be taught with even tension all the way around.


Roughly cut the edge of the cotton so there is a 2 inch border around the hoop.

Embroidery tutorial

Embroidery threads are usually 6 strands thick. Cut a piece of black thread, generally people say it shouldn’t be longer than the distance from your fingers to your elbow (about 12 inches) to reduce the chance of knots. I hate threading my needle that often so I usually make mine a bit longer (and it often gets knots in it). Split the thread into two pieces (3 strands thick) and thread your needle. There's a great video here showing two ways to do this - I tend to use the second way.

I used backstitch for the majority of the sewing. There’s a good tutorial of how to do it here.

You can start anywhere you like. Sew close to the edge of the fabric (leaving a small amount of fabric on the very edge) and use the thread to outline the various parts of the image. It’s up to you how much detail you want to include.

Embroidery tutorial
Insert the needle from behind the fabric and pull the thread through


Embroidery tutorial
Leave a small gap and push the needle back into the fabric
Embroidery tutorial
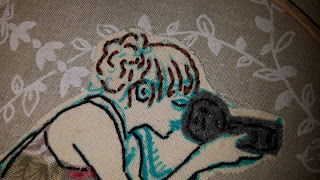
Use backstitch to outline all the blue lines

Embroidery tutorial
Outline the clothes and other accessories
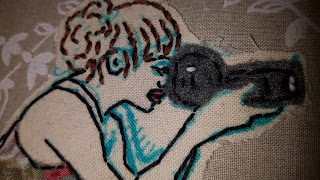
You can change the colour of thread to match what you are sewing (so I used brown for the hair, red for the lips etc). For the face outline I wanted to use a finer thread so I separated two strands of black thread to use (instead of three).

Embroidery tutorial

Embroidery tutorial
Refer back to the original picture to add details to the bag etc

Embroidery tutorial
Change to a brown thread (3 strands) and add the hair details

Embroidery tutorial

Embroidery tutorial
Sew the face (I unpicked this after and redid with 2 strands instead of 3) and add details to the camera.

Embroidery tutorial

Once everything is sewn, hold the embroidery (still in its hoop) under cold running water until the blue pen has completely gone and leave to dry.

Embroidery tutorial


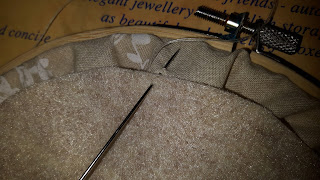
Once it’s dry we need to tidy up the back. About an inch away from the edge of hoop, sew a loose running stitch all the way around. It doesn’t really matter what thread you use as it will be hidden but I used normal white sewing cotton thread – the only thing that matters is that it is strong enough to handle some tension.

Pull gently on the thread to gather the fabric. You can use your fingers to adjust the gathers so that they are evenly spread. I like to sew the edges of the fabric to pull them closer together.

Embroidery tutorial
Sew a running stitch and pull on the threads to gather the fabric

Embroidery tutorial
Sew the edges together (sort of - this will add tension and tidy up the gathers)

Take the circle of felt and use a similar coloured thread to stitch it to the back of the embroidery using whatever stich you like. There’s a better tutorial of how to do this here.
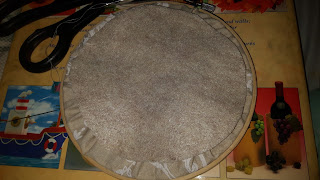
Embroidery tutorial
Place the felt circle on the back and position it in the centre

Embroidery tutorial
Stitch it to the back. You can use any stitch you like

Embroidery tutorial

Embroidery tutorial
Hopefully you'll take your time and make it neater than mine

Admire your finished embroidery, then take a crappy blurred picture of it to share with the world!

¯\_(ツ)_/¯

Embroidery tutorial


Saturday, 23 September 2017

Crystal Ball Tutorial


crystal ball halloween prop tutorial


I'm planning to dress as a fortune teller this halloween so I'm in need of a crystal ball. Here's how I made it. You will need:

Crystal Ball
Spherical light (I used a solar powered garden light from Bargain Buys which I picked up for £1)
LED battery powered lights (colour changing ones would look even better)
Clingfilm
Blue and black tulle pieces (you could probably also use tissue paper or coloured cellophane)
Purple fake spider web (again you can subsitute anything coloured and somewhat see through)

Base
Foil (I used hair foil which is a bit thicker than aluminium foil - although regular foil should still work)
Cardboard
Astrology print out (or you can draw your own symbols - I mostly drew my own because it was much easier)
Acrylic paints (I used bronze and brown) and paintbrushes
PVA glue
Paper towel
Hot glue gun and glue sticks
Pipe cleaners
Stick on beads (You can use whatever you like to make the shapes - I just had these to hand) and any decorations you want to add (I used a plastic snake and a tiny horseshoe)
Ready mixed plaster (you might not need this if your cardboard is thick enough)

Garden light thingy

I cut out the astrology circle thing and stuck it to some cardboard. Then I cut the centre out.
I had planned to recreate the symbols using hot glue, or pipe cleaners, or something. It didn't work very well so I mostly just used the sticky gems instead.

I used pipe cleaners for the segments. I just wrapped them around the carboard and twisted them at the back.
Stick down beads or whatever you have to form the symbols.

Brush on a layer of PVA glue

Cover with a layer of foil


Gently smooth and press the foil in between the beads and pipe cleaners until you can see their shapes more clearly. I rushed this part and had a few splits in the foil. Let's hope the paint covers them up!

The hair foils come in a roll, if you use tinfoil just cut a big enough piece to cover the circle in one go

Wrap the foil around the back of the circle and keep pressing and smoothing
You can use a cotton bud to gently hammer out any air bubbles. You want the foil to be as compressed and tight against the cardboard as possible.

The cardboard felt a bit flimsy so I smudged a layer of plaster on the back and left it to dry
Brush on a layer of brown acrylic paint

While it's still wet, dab off most of the paint with a paper towel

Once it had dried I did the same with some bronze paint
Stuff some climgfilm and spider web stuff inside the sphere
Push in some of the lights

Add a bit of tulle
It took a few attempts to get the lights and coloured pieces exactly how I wanted them, so turn the LED lights on and check you're happy with the placement as you go.

Cut
You could measure the diameter of the astrology circle then times that by pi to find out how long a piece of cardboard you need. Obviously that's way too much work, so I just eyeballed it. 


I cut at rough intervals, rolled the carboard into a tube and secured it with doublesided tape

Fold the teeth things down. Your circle and ball are going to sit on top

Repeat the painting steps to get a metallic effect
Feed the LED batteries through the hole

Glue the circle thingy to the base thingy

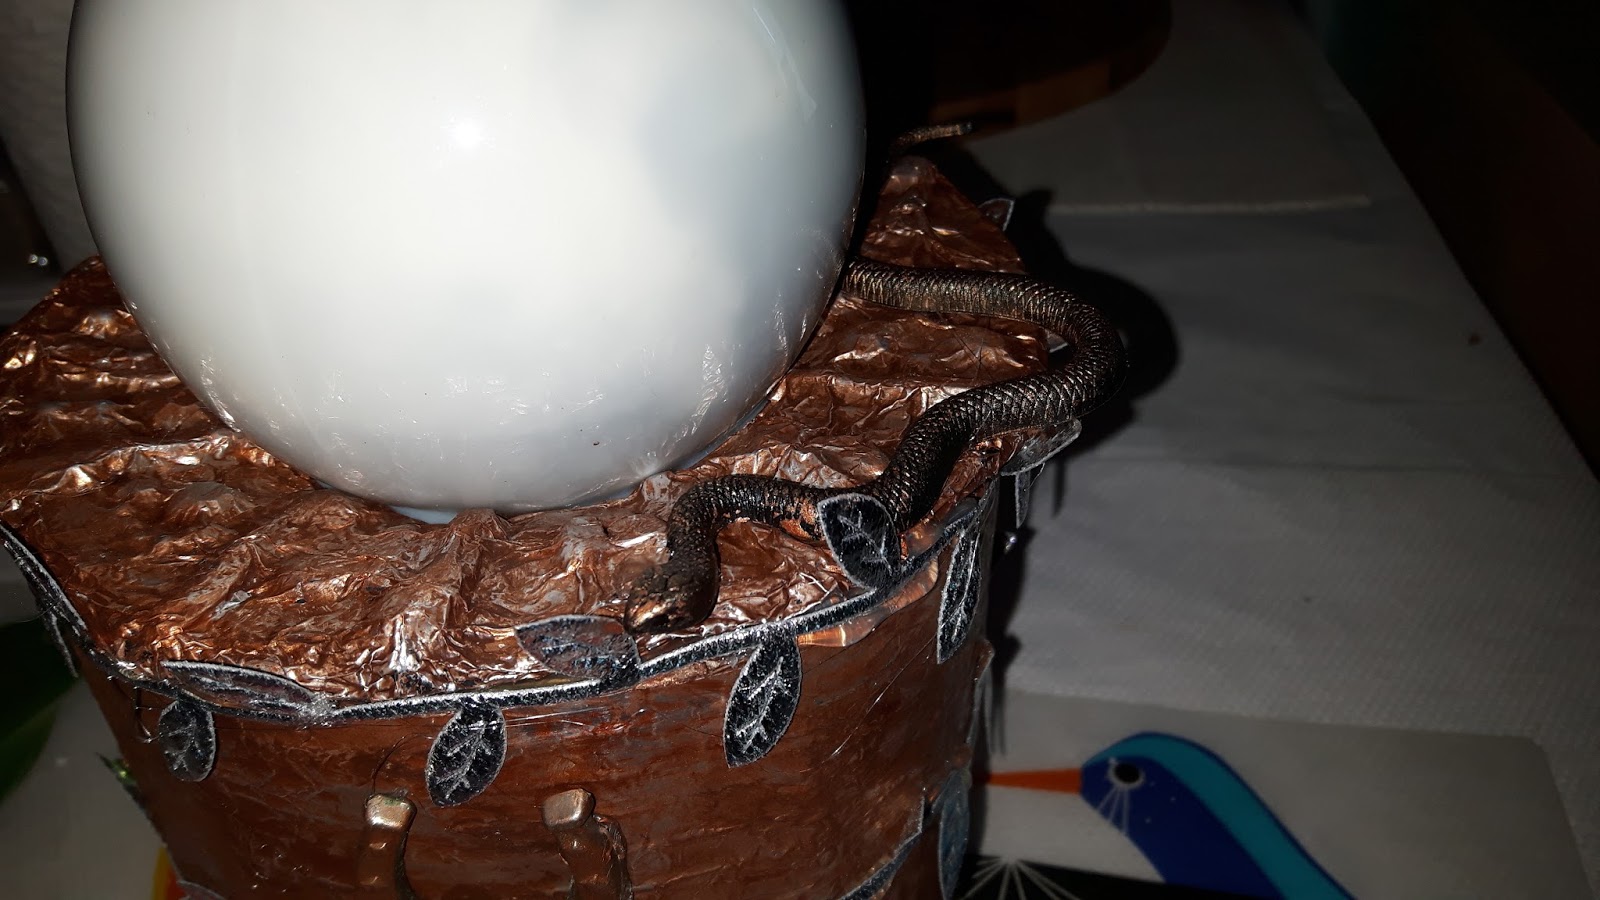
I didn't like the messy edge (yes sometimes measuring would be worth the effort) so I glued on some silver leaves


And a happy little snake

I found a tiny horseshoe so I glued that on too and dry brushed it with the bronze paint
 
crystal ball halloween prop tutorial
Finished!